Updated information at the end of the post…in answer to a comment!
If you are a “board member” on Pinterest, you know the feeling of panic you can get if you restrain yourself or you are not able to visit that site frequently. With me, I’m afraid that I am going to miss the next best thing to dyeing doilies…and guess what? I was fortunate enough not to miss this brilliant, literally BRILLIANT idea a while ago. Granted, I think this is more of an Easter-ish idea, but with St. Patrick’s Day (ie. leprechauns, pot’o’gold, green things and rainbows) I decided to try my hand at this fun concept. You can see the original post here.
To begin with, I’ve been having trouble with hard boiling eggs recently. I go for ages without making them, and I somehow forget how to do them without the grey ring around the yolk. I know that is from over-cooking, but I do not remember how long I’m supposed to cook them. Sometimes I get busy and forget to set the timer or don’t get them in the cold water soon enough/long enough. So when I saw another pin on Pinterest about how to boil an egg, I added it right to my board. Here is THAT original link.
It came down to this:
Put your eggs in a pot and cover the eggs with cold water, plus about an inch over the top. Turn the burner on to a medium high heat. Bring the water to a full boil and then turn off the heat; cover. Let the eggs sit in the boiled water for 11 minutes (large eggs) – the original poster said 10 minutes, another one said that her eggs didn’t get totally cooked in 10. Another person commented that she did hers for 12. I did mine for 12, but it took me a minute to get to them – some of mine were just starting to be overdone, but there was no visible grey when I cut them in half. I think that 12 minute MAX would be okay, but next time I’m going to try it with 11 minutes.
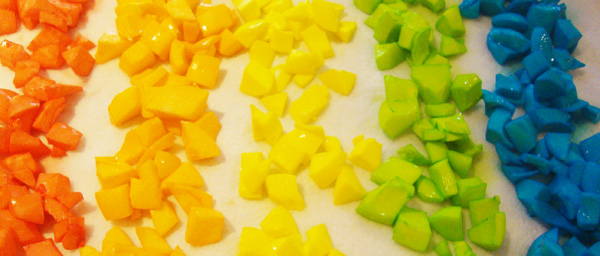
The biggest problem I have had in the past is peeling the eggs. The most important part is to pour the hot water off, then run cold tap water (some commenters said to add ice) and keep dumping the water when the eggs warm it up. When the water stays cold, you are good to leave the eggs alone. Peel your eggs, rinse, cut in half and put the egg yolks in a bowl. Next, I rinsed the cooked egg whites to get off any of the little bits of yolk and membrane that might remain. It will keep your egg dye less polluted. I usually have a few left over egg white halves that are not up to par for the deviled eggs, either because the yolk was too close to the outside, or maybe was more difficult to peel. I also rinsed off these whites, but I cut them into pieces like I would to make egg salad. I had something else in mind for those leftovers!
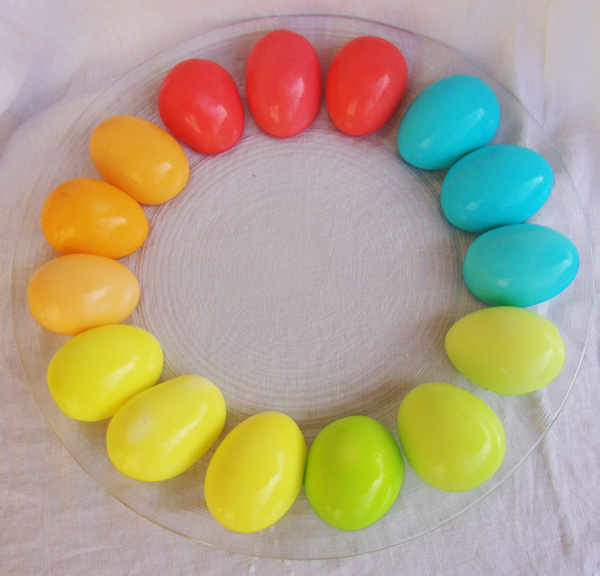
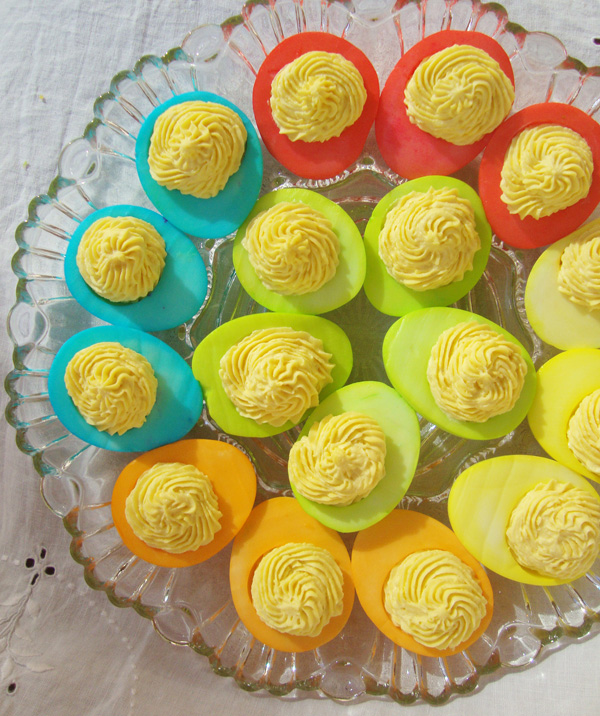
The next step is coloring your eggs. The original poster used regular food coloring, so I started out with that, but I didn’t like the shades of color I was getting. I just so happened to have an extra egg coloring kit left over from last year, so I prepared that, opting for the vibrant color directions, using vinegar to dissolve the tablets. (See update at the end of the post!) Dyeing the egg whites is similar to how you dye Easter Eggs – the longer you leave them in, the more vibrant the color. When you take them out of the dye, place them cut side down on a paper towel; let drain and dry. Use new, un-dyed paper towel space for any additional eggs, otherwise they will pick up color from the paper towel. Here are the colors that I ended up with…
Aren’t they beautiful? The pink (one of the colors in the kit) didn’t work…no purple, either. I’ll have to try that another time. They almost look like plastic eggs, don’t they?
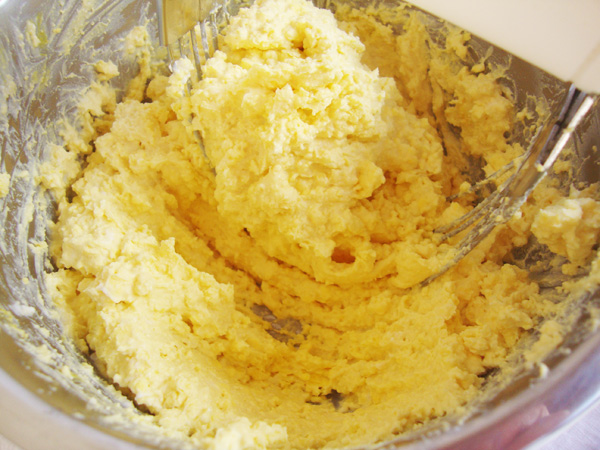
The next step is to prepare the egg yolk filling. Most cooks have a recipe they use or just do it by taste and texture. I add mayo, a little yellow mustard and salt, but I’m a bit of a purist. My kids like a little garlic salt or pepper on top as well, but I didn’t want to distract from the brilliant color. I use a fork to break up the yolks, then the pastry cutter to make it even finer; add mayo, mustard and salt to taste – I boiled about 30 eggs (I am sending some off with my boys to a Risk party) and used about 1 cup, plus a little more, of the mayo and about a tablespoon of the yellow mustard. You may need to adjust those measurements depending on how you prefer you filling. I mixed it up with the pastry cutter.
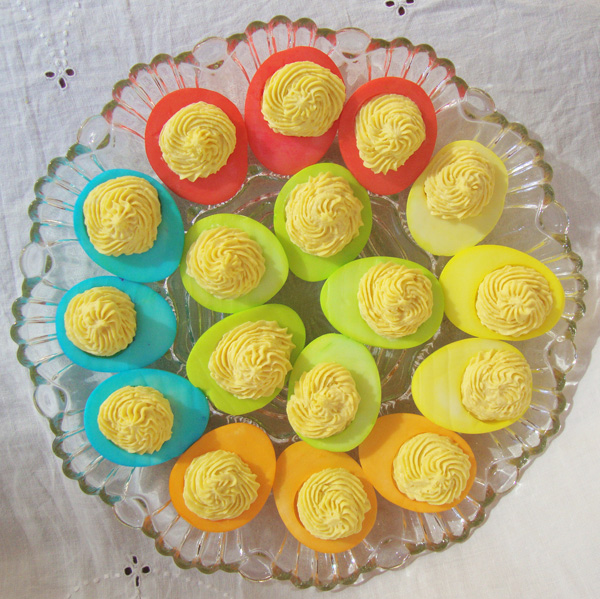
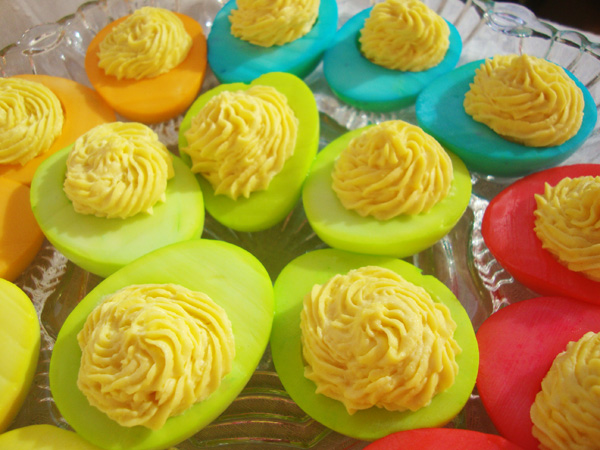
When I am just whipping up a batch of deviled eggs for the family, I don’t usually make them fancy. But for these, I put the filling in a pastry bag and used a cake decorating tip to pipe it into the eggs. Fancy schmancy!
The yellow ones are not my favorite because I really like contrast. But overall, I just love these!
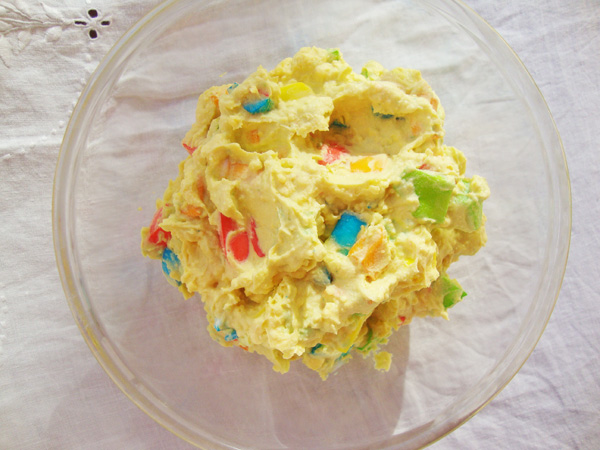
Remember those cut up egg whites for the egg salad? What do you think?
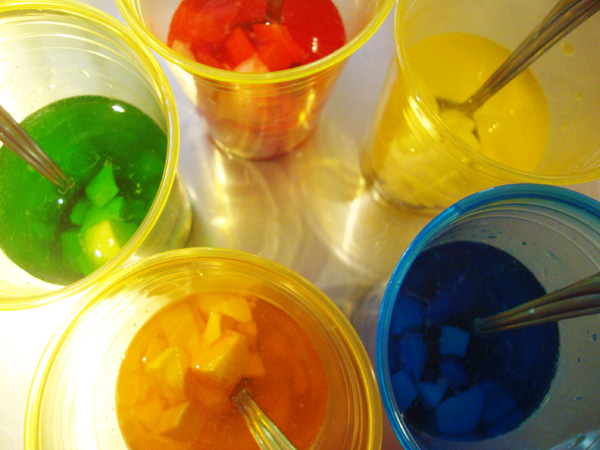
Not so white any more! When I was done with the Technicolor Deviled Eggs, I put the chopped egg whites into the dye and let them sit until I was done taking pictures.
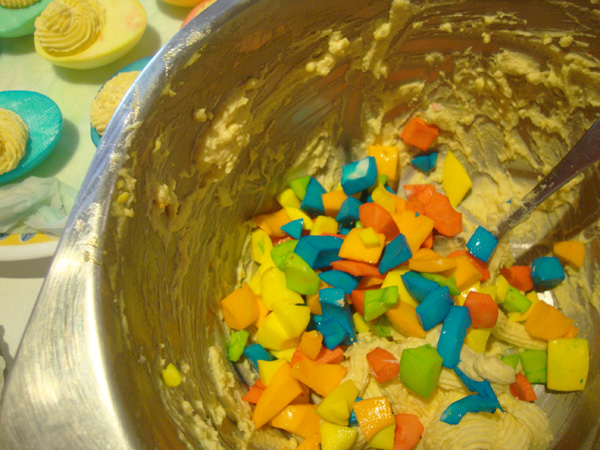
I tossed them into the leftover egg yolk mixture…
and mixed it up.
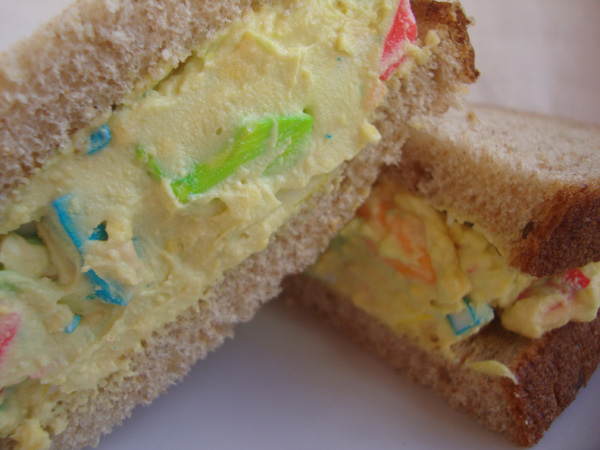
How fun is this? Now…look how colorful it makes this sandwich look! Fabulously fun!
Maybe they won’t notice the color of the 12-Grain bread if they are busy wondering why it’s so colorful inside!
This project isn’t hard at all, but it does take a little time…and totally worth it!
Update!!!
Someone posed a question as to using vinegar in the egg dye, wondering if it would change the taste. I had originally used the vinegar to get the vibrant color. But my daughter and I went back and did a test of using all three methods on the egg dye packaging, which uses vinegar, lemon or just plain old water. As it turned out, the eggs that were done in the vinegar (and we’re not sure if the time the egg whites were left in the solution has something to do with it) turned out rubbery and not as good when compared in a side-by-side taste test with the water, which tasted the best. Actually, the color of the whites done in the dye with water only were very bright and pretty. Next time we will stick with water dye!
Tags: colored deviled eggs, Deviled Eggs, Easter deviled eggs, Easter Eggs, Egg Salad, Egg Salad Sandwich, Technicolor Deviled Eggs




Thank for the vinegar vs water info!!
I was thinking about doing this even before seeing your page for my grandsons christening. Colors are lovely, but using the easter egg dye straight on the egg….is that safe?
Absolutely! If you use Easter egg dye or food coloring, it is all food safe. My daughter and I did a taste test and we decided that we liked it best with the dye that didn’t use the vinegar…it made the egg whites (although they didn’t stay white for long) a little rubbery. The longer you leave them in, the stronger the color. I hope you have leftover Easter egg dye…I always try to buy extras after Easter to have them on hand!
[…] have been distracted by other projects that, once completed, served another purpose…like the Technicolor Deviled Eggs (for the boy’s Risk party), Jello Cookies (for a fireside) and the Cake Batter Krispie […]
I’m really inspired along with your writing abilities and also with the layout on your blog. Is that this a paid subject or did you customize it yourself? Either way keep up the excellent high quality writing, it’s uncommon to look a nice blog like this one nowadays..
Thank you for your feedback. I started with a typepad blog of the same name, but I started noticing some different webpages/styles that I really liked. I am happy with the changes…blogging is certainly a learning curve, don’t you think?
This may be a silly question, but will dying them in the vinegar alter the taste of the egg white?
I did notice a slight difference in the taste, but my boys and their friends had no complaints…they gobbled them right up. One of the friends said that they were “so delicious”. It would probably partially depend on how long you left them in the dye as well. I’m not positive, but I think that there are some dyes that don’t require vinegar…you add it for more vibrant colors. I’ll rxperiment a little. Next time I make these, and that will be soon, I’ll leave some undyed and do a taste comparison test and post my results.
I am updating some more information to the Technicolor Deviled Eggs!
Absolutely delicious!!