
Delicious take-out style chicken fried rice that is easy and inexpensive to make
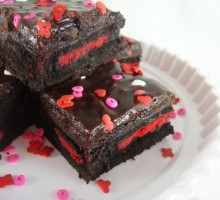
Adding "hugs and kisses" to your favorite brownie recipe, with an Oreo surprise inside is sure to win the heart of your favorite Valentine!

It's easy to make your pepperoni pizza fit for the fans with a little "positioning" of your cheese and meat, and just in time for the big game...make it easily with Rhodes Frozen White Rolls!
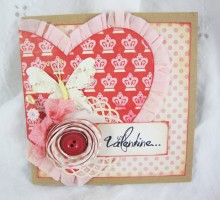
Chunky hand-made Valentine's Day cards are a fun way to share your talents with those you love!
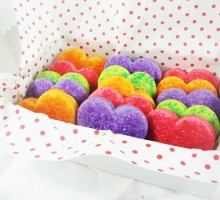
A new take on favorite recipe - put a little "heart" into your Jell-O cookies!
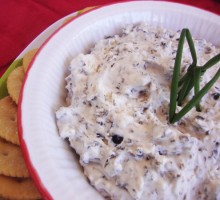
Years ago, when I was still having babies and subsequently, baby showers thrown for me, a friend included something on the menu that I quickly fell in love with – Olive & Cream Cheese Dip! I had never thought about combining the two ingredients. This was originally served with croissants…yummy…but Ritz Crackers are just as delicious and I always have those on hand. All you need is: 1 – 12 oz tub Philadelphia Whipped Cream Cheese 1 – 4.25 oz can Early California Chopped Olives In a small mixing bowl, combine the cream cheese and olives; mix well. Keep chilled until serving. The great thing about this dip is that it only takes a couple of minutes to make, I always have the ingredients on hand and it is easy to put together when I need to come up with something last minute. May also be served with fresh vegetables. If you like black olives, this tasty dip is sure to hit the spot!
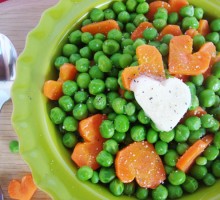
Making heart-shaped carrot slices takes just a few extra minutes, but makes such a cute addition to your home-cooked vegetables!
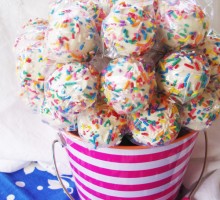
I have heard, albeit in a somewhat politically disparaging way, that one should never let a crisis go to waste. I have, in my own creative realm, decided that I will not let a good project (ie, recipe, paper art, helpful hint, etc.) go to waste. So when “Sister Friendly” (that’s me!) was trying to decide on what treat she was going to take to the Primary children yesterday, only one obstatical came my way…how do I display over 30 cake pops? They are just too cute to hide in a brown paper bag! I love finding colorful containers, especially when they’re on sale! This bucket, along with a lavendar striped one, came from Bath and Body Works. It measures 4 1/2″ in diameter on the bottom and 6 1/4″ across the top. This is a bit bigger than the ones you find in the dollar bins at Target, and the broader base helps to stabilize it. Galvinized buckets can also be found, so I’m sure you can find something similar. Here’s how I do it! Take your empty bucket and put a wad of packing or tissue paper in the bottom. I wouldn’t use newspaper because it might make your sticks dirty from the newsprint ink. This will keep the sticks going straight down and they won’t slide around. Start lining up the first row of cake pops. Keep them down, close to
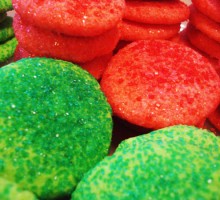
Make your Jell-O Cookies merry, just in time for you Christmas cookie plates!
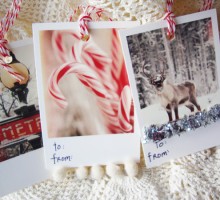
It’s the 6th day of December…Christmas time and that means I’ve got to get busy on my cards – I’m seriously behind schedule! There are always oodles of new Christmas papers, but I have been trying to cut back on my hoard of paper, while still trying to keep current with the styles. All things trend and Christmas is no stranger to change. But for this season, I’m going to try to keep it simple. In my last post, I talked about a cute store that we found at the mall – Typo. There were lots of great things that we found for gifts, but one of our favorite finds was a small tin of 50 mini Christmas-themed polaroids in a “Message In A Box”. The vintage-style photos all create a bit of nostalgia. I just love the little faded photos! The pictures aren’t complicated, so I kept the sentiments simple. I also kept the embellishments to a minimum: baker’s twine, buttons, red clothespins and old dictionary pages accentuate the photos without overwhelming the clean lines. A few small dots of glue, with glitter sprinkled on top, gives the illusion of falling “flakes” to the snowy scene. Inking the edges with black StazOn distresses and adds definition. I stapled the photos before I added the foam mounting tape to the back – the staples are just for looks – I don’t like the look of