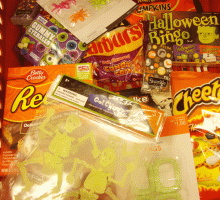
When kids are away at college or on a mission, you can let them know you're thinking about them with a special Halloween care package!
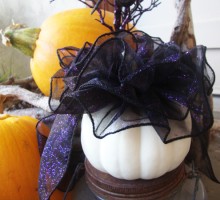
It has been a busy October and we still haven’t gotten up into the attic to get down Halloween decorations. The only decorating that has been done is with those few items that got missed when we put away Halloween LAST year! But because we are feeling the need to have a splash of those fall colors, we decided that we could “make the pathway bright” and fill our doorway with pumpkin cheer! You all know that I love my Everything99cents store – yet another reason! Last Saturday they had pumpkins out front! That’s right, a big box of pumpkins for just a dollar! We got the tiny pumpkins from the grocery store and they were less than a dollar, but the bigger ones? Yep…a dollar! When you can get them that inexpensive, I don’t mind sacrificing one. Measure the approximate height of the pot that will go inside – figure that the wall of the pumpkin will be at least 1″ to 1 1/2″ thick, so choose your pumpkin carefully – then chop off the top and remove the seeds. Your pumpkin pot is now ready to put a pot of posies (also just a dollar) right inside. Easy peasy and cheap! Mixing it up a bit, the little white pumpkin had the perfect stem to attach a sparkly bow on top! It’s a process…but such a fun one. Now I don’t
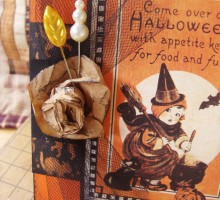
I’ve been so busy baking that I almost let today get away from me without making any cards…ridiculous! Can’t let that happen! So why not stop, take a few minutes and start getting ready for Halloween greeting cards? I couldn’t think of any good reason either. I had a couple of sheets of Graphic 45 Happy Haunting Collection and I love the nostalgic, whimsical look of the artwork, so for today it was the perfect choice for my cards! I had a cute little moon button that I tied up with some linen thread at the top! Don’t you just love the scaredy cat? Use pinking shears along the edge of a 2′ length of crepe paper; gather, put redline tape on the back and apply as a ruffle, tying up with some orange Hug Snug seam binding. It’s kind of hard to see, but I added some Star Dust Stickles to the face on the pumpkin for just a little fun sparkle! This card uses ribbon on the side and three buttons to dress it up. A little black tulle, a brown paper bag flower and some fancy pins give a nice touch! And here’s more of the little quilt in the background! If you haven’t made cards yet today, it isn’t too late! Happy Card Making!
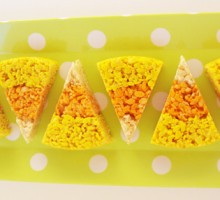
I am so excited…October is finally here! I try to put off all things Halloween until October, but once it arrives, there are so many new things to try that I have to be busy. I spied these little treats on Pinterest and knew this would be a nice and easy addition to my Halloween treat arsenal. Candy corn is one of those iconic treats that shouts Halloween, but it isn’t my favorite candy. Don’t get me wrong…I always buy it and will use it to decorate with, but eating it is a different story. It is way too sweet for my taste buds, but I love the tri-colored shape, so the possibility of using this as a replacement makes me happy! Candy Corn Krispie Treats You will need to gather the following items before you start: 1 large box of Rice Krispies cereal (at least 9 3/4 cups); 2 -10 oz bags of mini marshmallows; 1 cube (1/2 cup) butter – if you cut up the cube of butter into the portions you will need, there will be an extra tablespoon to use on your hands to press the krispie mixture into the cake pan; spray vegetable oil; yellow and orange gel food coloring (like Americolor or Wilton); 2 large mixing bowls, at least one of them microwave-safe; a wisk, a bowl scraper and a large, sturdy spoon; 2 – 8″ cake pans. For the yellow ring: 5 cups

The month in review...

Trunk-or-treat down...Halloween to go!
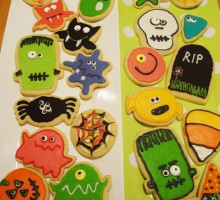
We were attacking in our kitchen today by a bunch of little monsters!
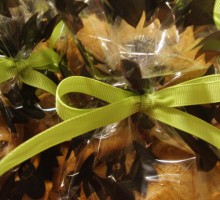
It's almost midnight and I'm going to turn into a pumpkin!
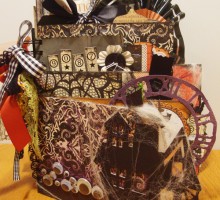
I took a fun Halloween Album class...it is soooooo cute!
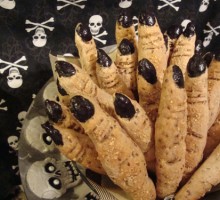
It's time for a giveaway!