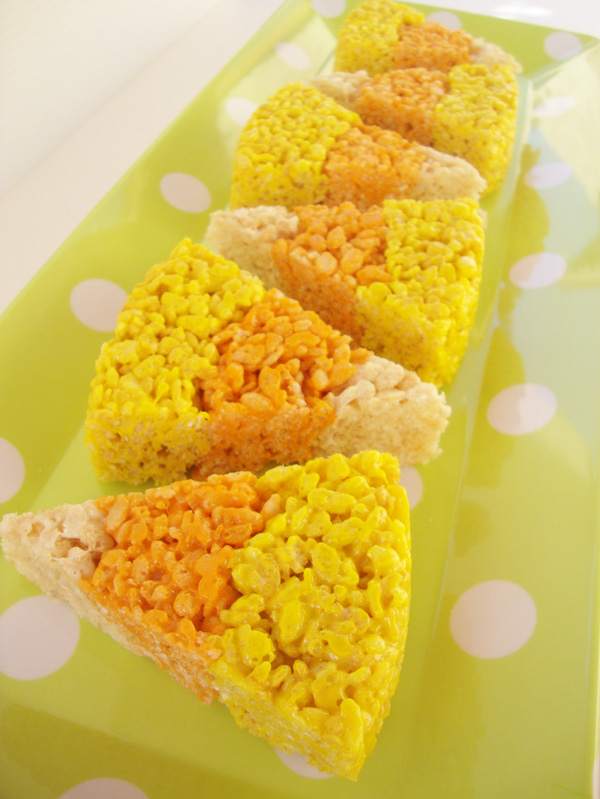
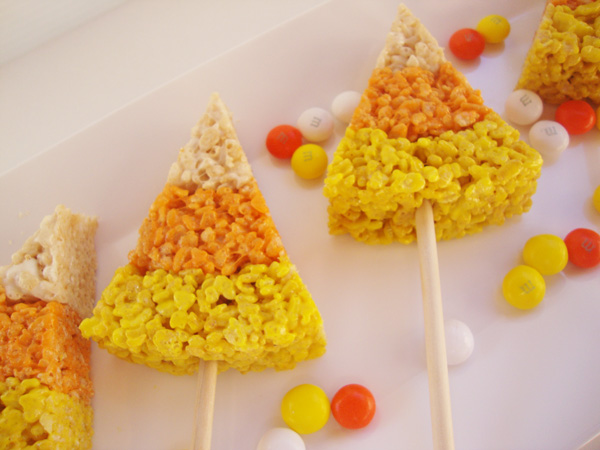
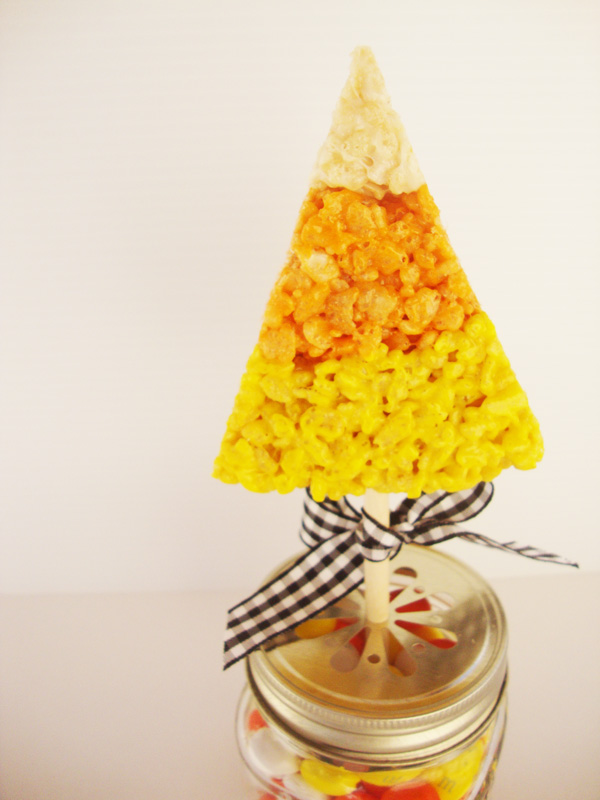
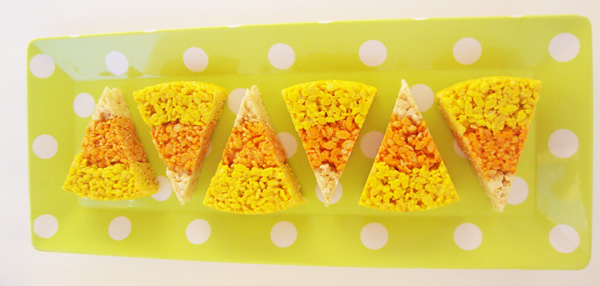
I am so excited…October is finally here! I try to put off all things Halloween until October, but once it arrives, there are so many new things to try that I have to be busy. I spied these little treats on Pinterest and knew this would be a nice and easy addition to my Halloween treat arsenal.
Candy corn is one of those iconic treats that shouts Halloween, but it isn’t my favorite candy. Don’t get me wrong…I always buy it and will use it to decorate with, but eating it is a different story. It is way too sweet for my taste buds, but I love the tri-colored shape, so the possibility of using this as a replacement makes me happy!
Candy Corn Krispie Treats
You will need to gather the following items before you start:
1 large box of Rice Krispies cereal (at least 9 3/4 cups); 2 -10 oz bags of mini marshmallows; 1 cube (1/2 cup) butter – if you cut up the cube of butter into the portions you will need, there will be an extra tablespoon to use on your hands to press the krispie mixture into the cake pan; spray vegetable oil; yellow and orange gel food coloring (like Americolor or Wilton); 2 large mixing bowls, at least one of them microwave-safe; a wisk, a bowl scraper and a large, sturdy spoon; 2 – 8″ cake pans.
For the yellow ring:
5 cups mini marshmallows
3 tablespoons butter
4 1/2 cups Rice Krispies cereal
Yellow gel food coloring
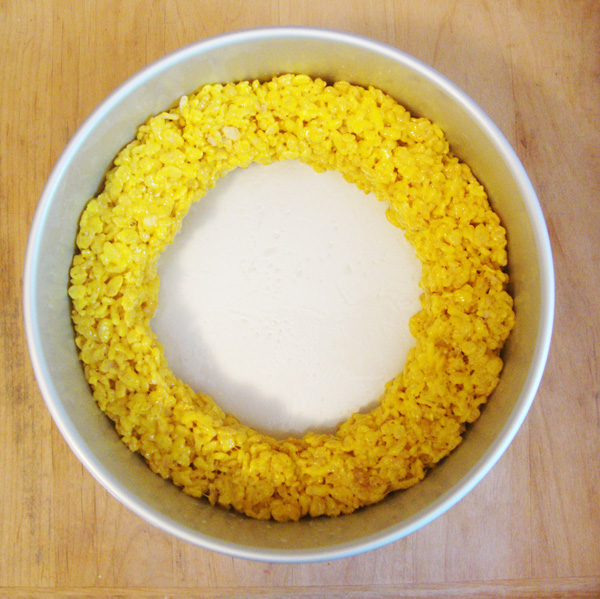
Spray the cake pans with vegetable spray and set aside. Put the marshmallows and butter in the microwave safe bowl. Heat on high for about 3 minutes or until the marshmallows are soft and poofy. 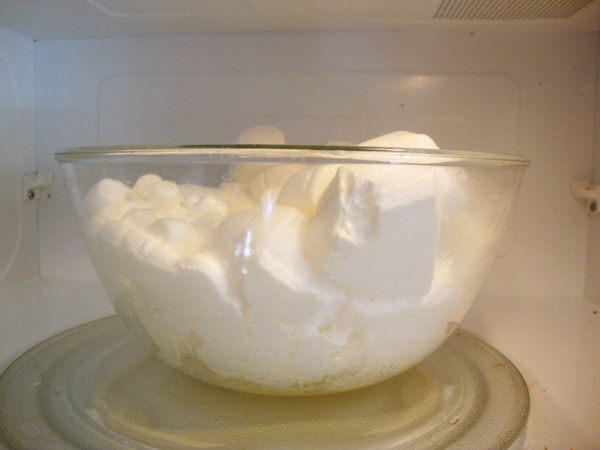
You need to work fast when you add the food color, so use the wisk to incorporate the color into the marshmallow. Add the Rice Krispies and mix until they are well coated. Put 1/2 the mixture in each cake pan; butter your hands and press firmly against the outer edge of the pan, forming a ring. Make sure you press the mixture firmly!
For the orange ring:
3 1/2 cups mini marshmallows
2 tablespoons butter
2 3/4 cups Rice Krispies cereal
Orange gel food coloring
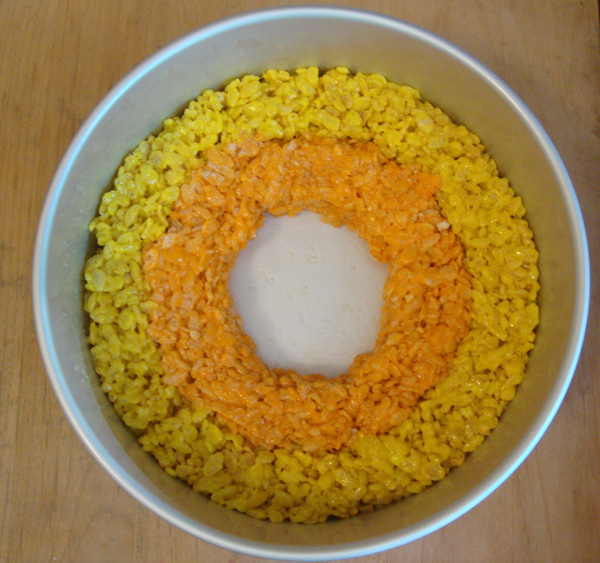
Follow the directions above to prepare the orange krispie treat mixture.
Press firmly next to the yellow ring. It needs to be very firm so that it won’t fall apart when you cut it.
For the white center:
2 1/2 cups mini marshmallows
2 tablespoons butter
2 cups Rice Krispies
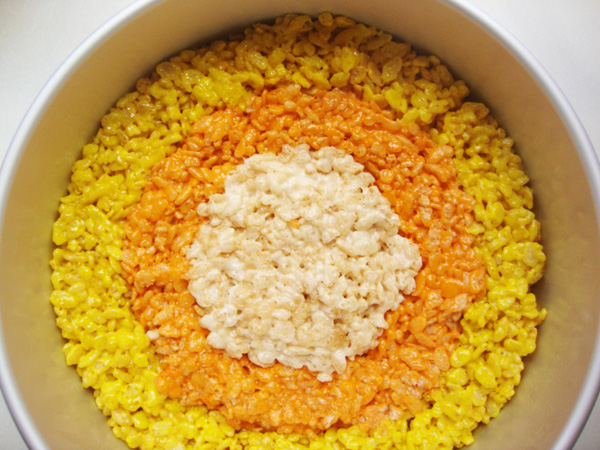
Follow the same directions for preparing the krispie mixture. Fill as much as will fit into the center of the rings.
I did have a little left over, so don’t force it. Trust me…it didn’t go to waist – wait, I mean waste!
Now comes the hard part – you need to patiently wait for the treats to set up. I know it’s hard, but a good idea if you want these to hold their shape when you cut them. Turn the cake pan over onto a cutting mat and gently tap so the treat comes out. Cut it in half, then quarters and finally into eighths.
When I first saw this cute idea at Glorious Treats, I loved the orange and white straws. I’ve been collecting straws for a while, but to my shock and dismay – no orange and white striped straws! I tried the black and white, but they didn’t feel very sturdy and I wasn’t sure they would hold the treat securely. So then I tried using those sturdy wooden sticks that you use for corn-on-the-cob or candied apples.
These worked much better – that is until Mike made a discovery…
…when Mike went to sample a treat on the stick, we decided that it probably wouldn’t be safe for the younger group to have that sharp end going into their little mouths. Know what?
I think they look pretty darn cute just like this! I took these to a friend’s house when we were invited to dinner and they were a hit. I will make these again for sure!
NOTE: Don’t try mixing up large marshmallows with the minis – did you see the different sizes in the bowl? I had some partial bags of different sizes of marshmallows that I wanted to use up, but the larger marshmallows didn’t melt as quickly. The minis work way better.
Tags: candy corn, Halloween treats, Rice Krispie Treats

