There is something wonderful about simplicity. Easy to remember, easy to produce…just plain old easy. What determines the energies you will put into a project? A combination of time available and quantity you need to make. But just because I might want to limit the time spent on each project, it doesn’t mean that you can’t make it look time intensive.
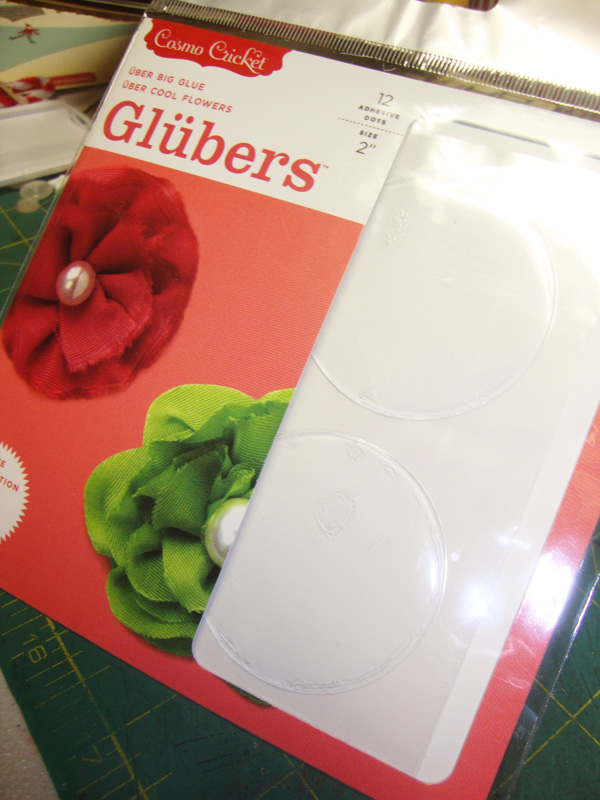
A few weeks ago I made some cards with the Simple Stories “25 Days of Christmas” line. I made a “Thank You” card that has an easy to make ribbon flower, held together with a favorite adhesive of mine…Glubers. Love them! Glubers come in 2″, 2 1/2″ and 3″ sizes. I used a 2″ Gluber and the flower ends up being about 2 1/2″ in diameter. I’ve had requests on how to make them, so here goes…but first, a warning: PAY NO ATTENTION TO THE CONDITION OF MY NAILS AND CUTICLES! It is the nature of working with paper extensively and not wanting to put lotion on because it leaves marks on the paper. Getting my artificial tree “fluffed” didn’t help, and I also worked outside a little, PLUS I wash my hands a LOT!!! So don’t be shocked or bothered. I do not have beautiful hands and nails to demo with…just my pudgy, short digits. (I would have Photoshopped the hands, but it’s late and life is too short to worry about perfect hands and nails:) Even though they aren’t pretty, I love my chubby little hands and I’m grateful that they work so well for me!
You will need: 1 – 2″ Gluber; about 1 1/2 yards of rayon seam binding – you can use another ribbon, but it needs to be super lightweight to get the ruffle look; 1 coordinating button; baker’s twine or floss.
The ribbon length for this flower was about 1 1/2 yards, but sometimes it only takes 1 1/4 yards. I buy the rayon seam binding by the 100 yd. roll, so I don’t cut a length…I just work from the spool. If you want to use the exact amount of ribbon needed, don’t cut the ribbon until you are almost done.
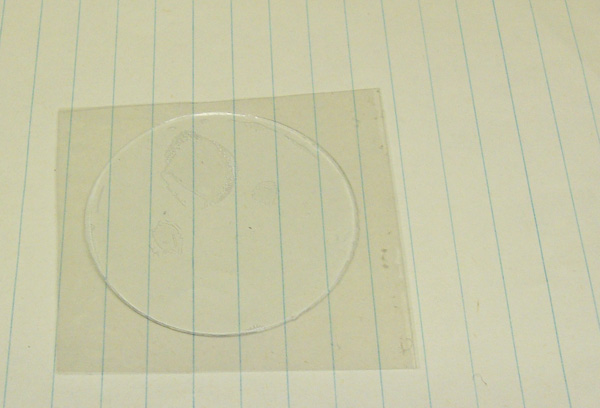
Glubers come sandwiched between two pieces of some sort of plastic. One of the sides is flimsier than the other. You will want to remove the flimsy side.
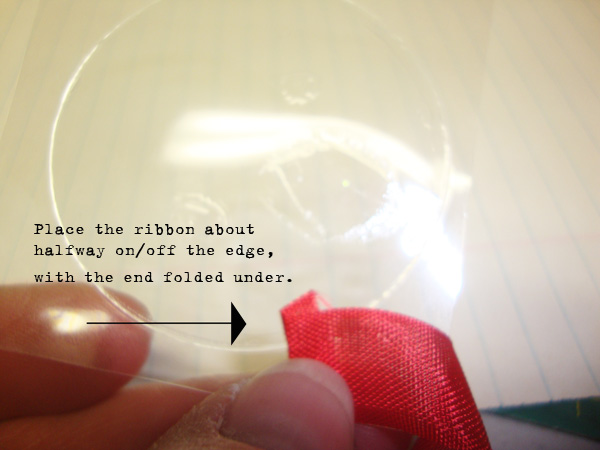
Next, you will loop up a little extra ribbon, but touch down onto the Gluber right next to the turned under edge. I turn under the edge so that the edge looks more finished.
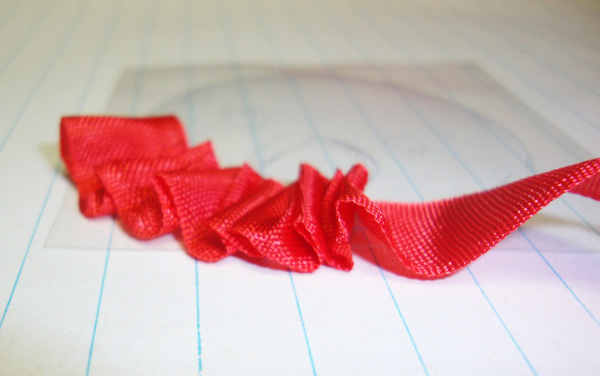
Continue looping and then attaching. You can adjust the height of your loop depending on how full you want your flower to be. Watch to make sure that the ribbon continues to attach about the same amount all the way around.
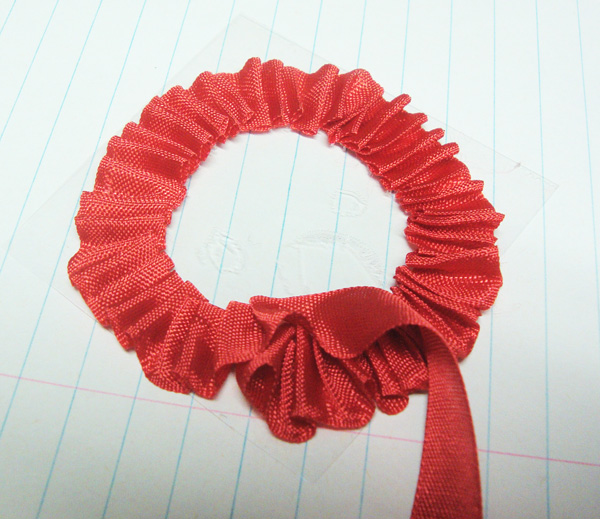
When you get all the way around, begin your second row just above the beginning of the first row. You want to keep overlapping about half the width of the ribbon so that the flower gets full and you won’t see the adhesive underneath.
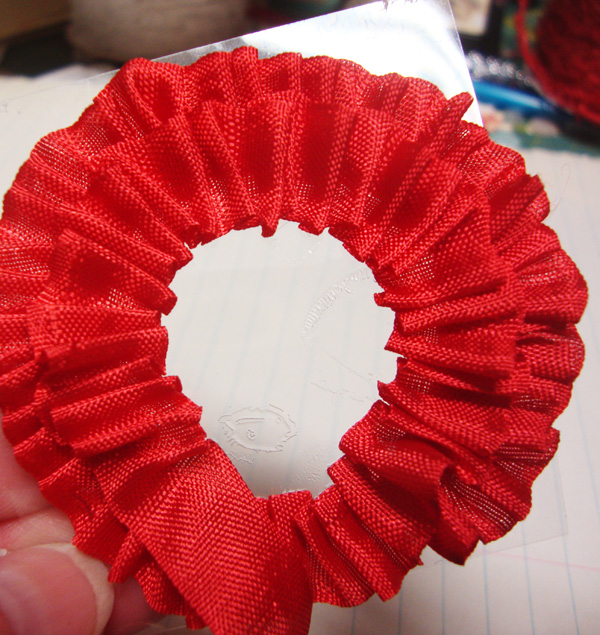
Keep going…
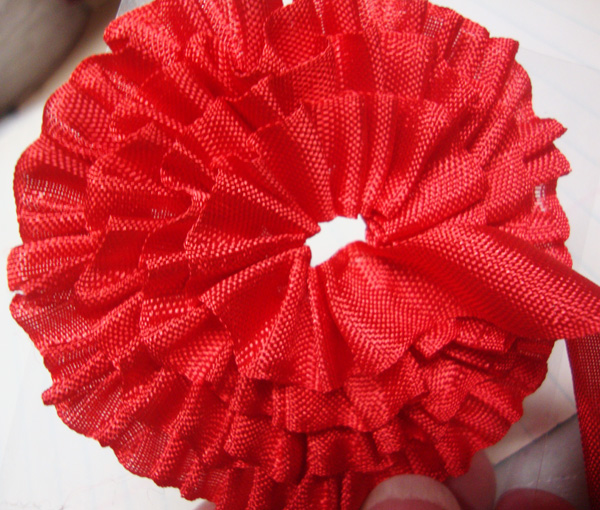
When you get almost to the center, you can cut the ribbon, leaving about an inch of ribbon and a little exposed bit of Gluber.
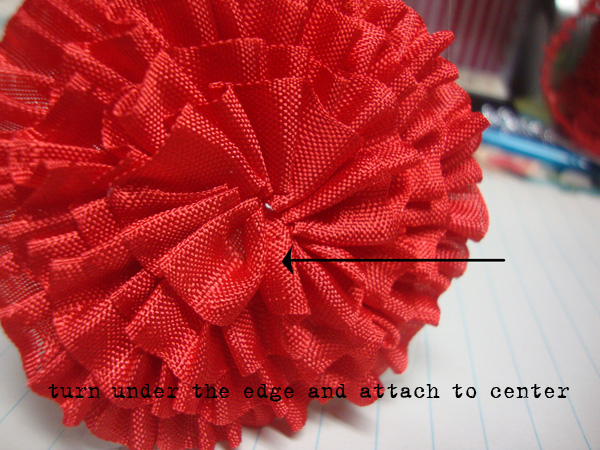
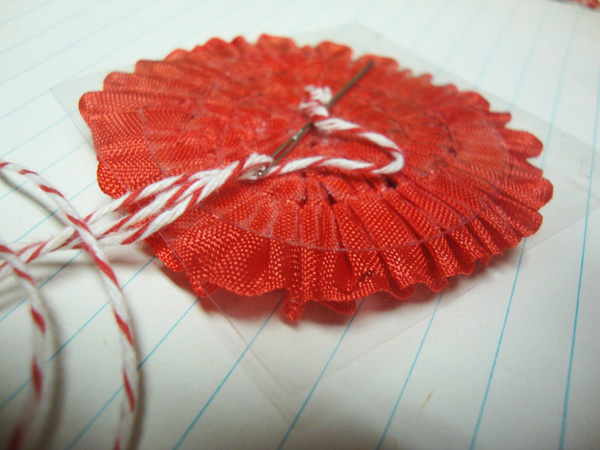
Almost done! Now you need to choose a button. Place it in the center of your flower. Thread a length of baker’s twine; knot one end. Coming from the back side of the Gluber – plastic still attached – stitch right through the the plastic.
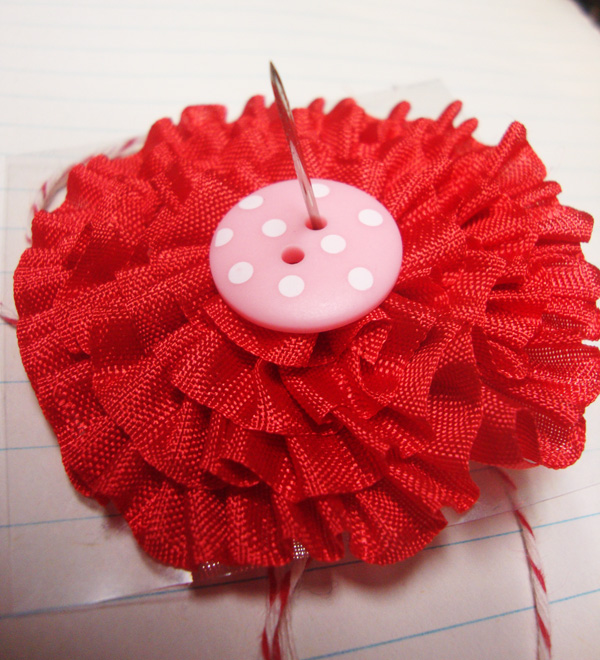
Tie it off on the back…and yes, the plastic is still on.
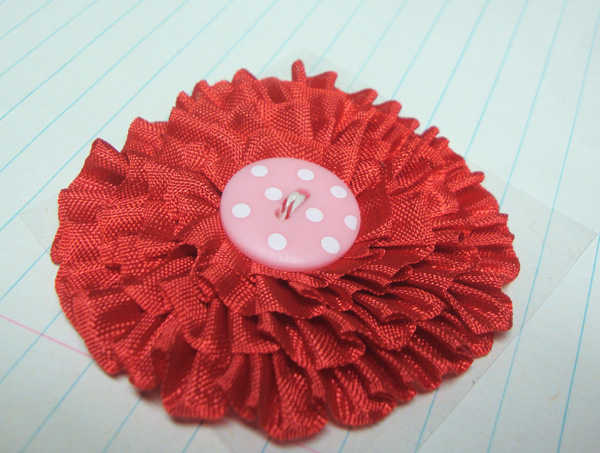
With the plastic still on the back, you can make a bunch of these and they are ready to attach to a card, layout, tag or even a package. I have a pile of these flowers (all sizes) ready made…all I need to do is choose a button and stitch it on.
Here’s the card:
And a link to download the “thank you” PDF.
Have fun making your own little bunch of posies!
Tags: Glubers and ribbon flowers, making ribbon flowers, ribbon flower step-out, ribbon flower tutorial, ribbon flowers

