Cake pops…little two or three bite-sized bits of yumminess. My daughter turned me on to Bakerella months ago, but that was still way past the point of following on the coattails of being stylish. Don’t you just hate it when you find that you are about three years behind a really cool, fun trend? There are a couple of things that are great about not being the first – you get to learn from others the mistakes you do NOT want to repeat. So if you are riding on the tail of this cake pop comet, it’s not too late to figure out how to do these for yourself! There are still enough people out there that have not seen or tried one of these goodies.
Bake yourself a cake; it most certainly can be a mix, which is all I have ever used to make cake pops with.
Let it cool on a rack in the pan a bit, then turn it over (with the rack over the top of the pan) and let it finish cooling.
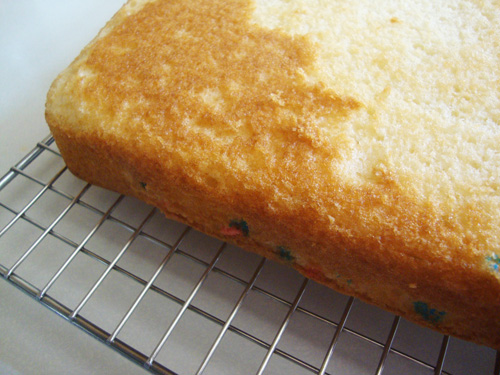
This sounds easy, but can be a bit of a feat when you are being invaded by ants and have to watch carefully for the scouts…usually the little crawling kind, but sometimes the adolescent male version.
This is where I learned a lesson on my own: You will want to remove all the “browned” edges of the cake. Leaving the “browned” edges will not affect the taste of the cake pop/ball, but it will affect how it looks. This is especially important when you are using a lighter color cake – not so important with chocolate or red velvet cake.
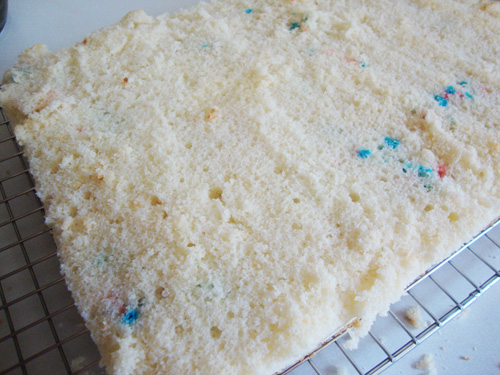
Take a second cooling rack, put it on top of the trimmed bottom and flip it over again.
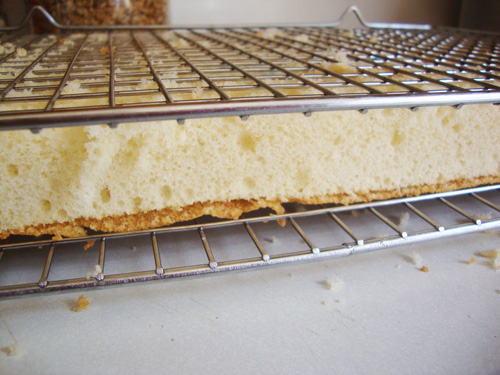
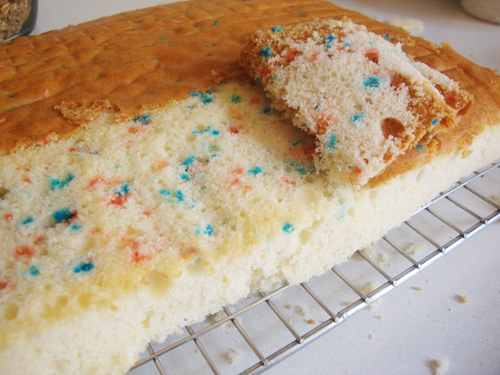
I use a serrated knife to remove the outer baked edge. It comes off really easily.
Next, put the cake into a gallon Ziploc bag. I learned this trick from Ro Zinniger from Ro Z’s Sweet Art Studio in San Marcos when she came to demonstrate at the San Diego County Fair this summer. No, you don’t have to cut it nicely, I just did that for the picture.
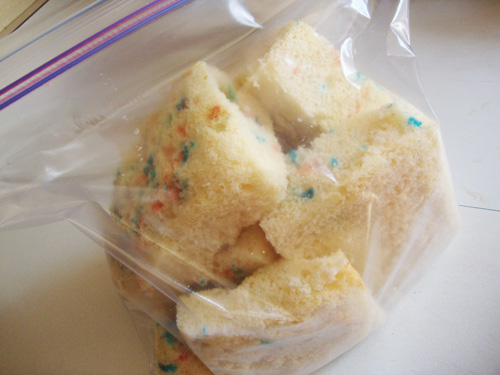
Now crumble it into small crumbs.
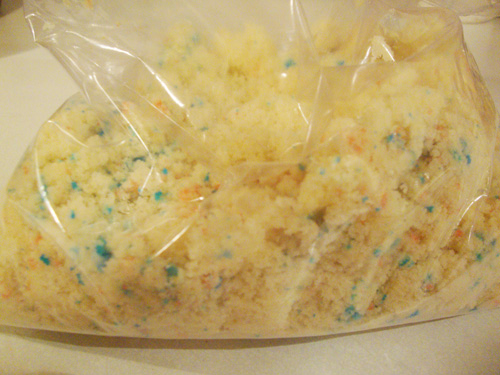
Unlike my brownie balls, you don’t need a whole tub of frosting. Ro also recommended using less frosting than I had heard before. She was saying a couple of tablespoons, but I think it was more like 1/4 to 1/3 (about 1/2 a cup) of a regular-sized tub of frosting…not the whipped stuff. Here is where the Ziploc comes in handy – it becomes your mixing bowl. Squeeze as much of the air out of the bag that you can. Try not to get the mixture in the zip part of the bag. Now is a good time to solicit the help of the kids.
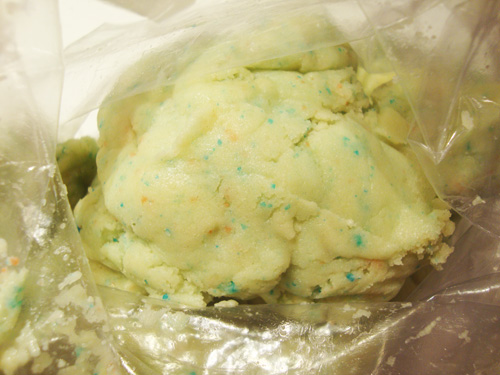
Knead the mixture until it becomes the texture of Playdoh. The color changed slightly because I was using up lemon frosting that I had in the frig, but also…the color from the sprinkles in the cake bled a little. If you can’t get right to the project, the mixture is easily stored in the frig until ready to roll the balls.
The next step is rolling the mixture into balls. If you have small food scoops, this is a good way to make your pops more uniform in size. I scoop a bunch, then sit and roll into balls.
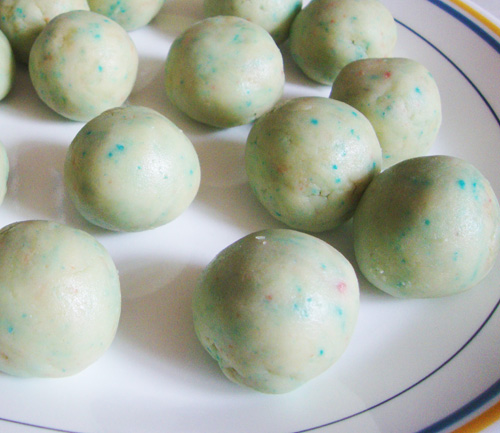
Put the balls into the frig and chill for a couple hours.
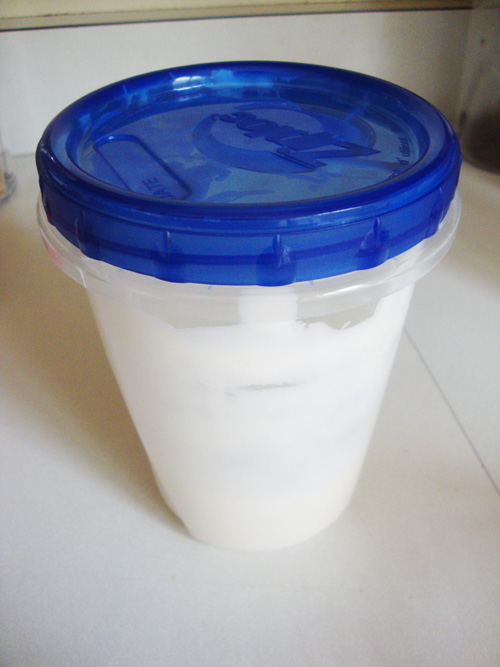
Melt your almond bark/candy melts. I have taken a round, heavy-duty Ziploc 4-cup container with a screw-on lid to use to melt the candy (keep lid off while heating) because then I can store what I don’t use up for re-melting and dipping another time. It is just the right size and I like the depth. Heat the candy in the microwave on a reduced temperature (30 – 40%) for about 20 – 30 seconds at a time. You want it to be fairly runny, but not hotter than just runny enough to dip.
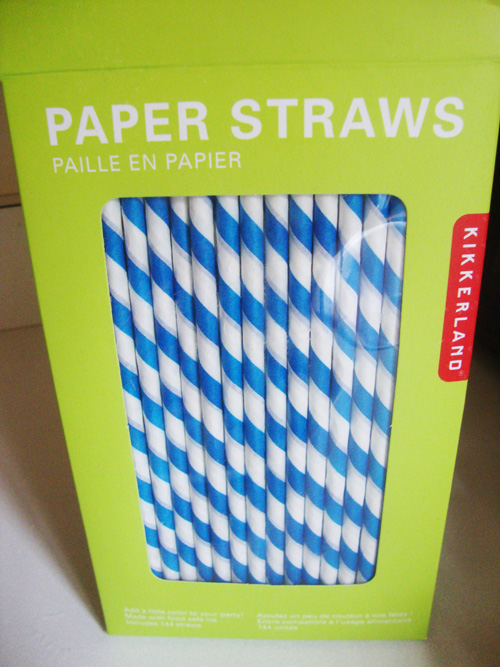
Dip your candy sticks (I used heavy-duty straws this time…cute!) into the melted candy. Let some of it drip off, then insert the stick into the ball, at least 2/3 the way to the top.
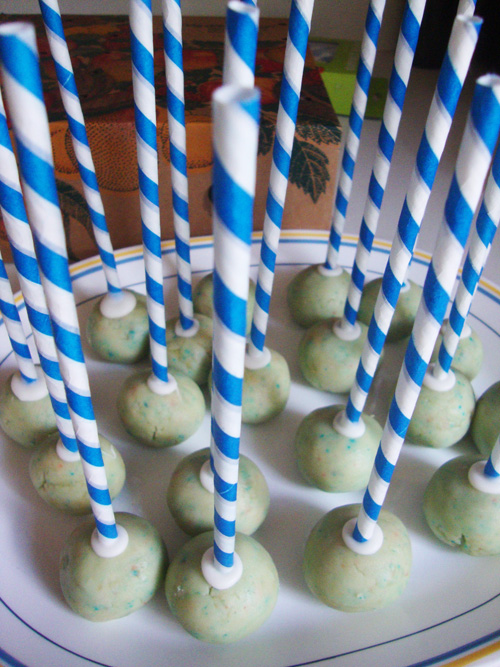
Return to the frig for 20 – 30 minutes.
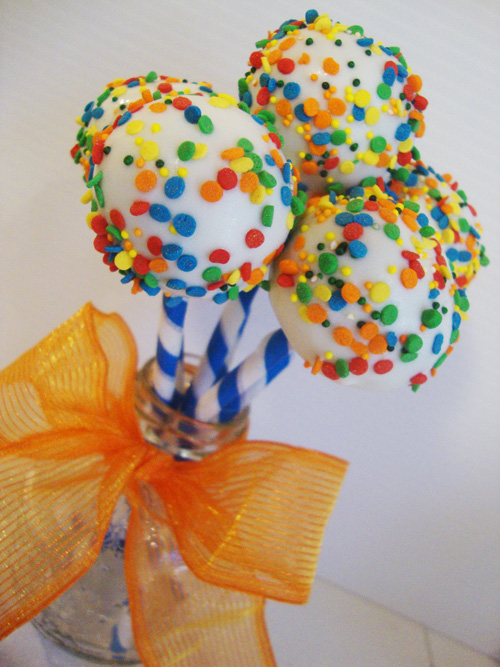
Check your melted candy. It might be okay to go ahead and dip, but you may need to put the candy back into the microwave for a few seconds. Dip the pops into the mixture; holding the pop over the container in an upright, but slightly slanted angle, gently turn and tap the pop to get the excess candy melt off the pop. You have to be a little more gentle with the straws than the candy sticks, but it worked fine. Hold over a bowl of sprinkles and add sprinkles before the candy hardens. Sometimes I will dip the whole pop into the sprinkles, but that uses a lot of sprinkles and not everyone is crazy about eating sprinkles even though they look really cute! (Sorry…I didn’t have someone to take pictures while doing this step!)
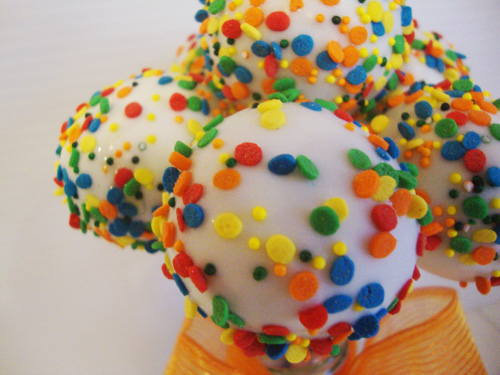
These sprinkles are from a tub of Pillsbury Ready-to-Spread frosting (chocolate) that I used to make brownie balls with recently, and I didn’t need sprinkles for that project…I love the mixed sizes and the colors of the little candy bits!
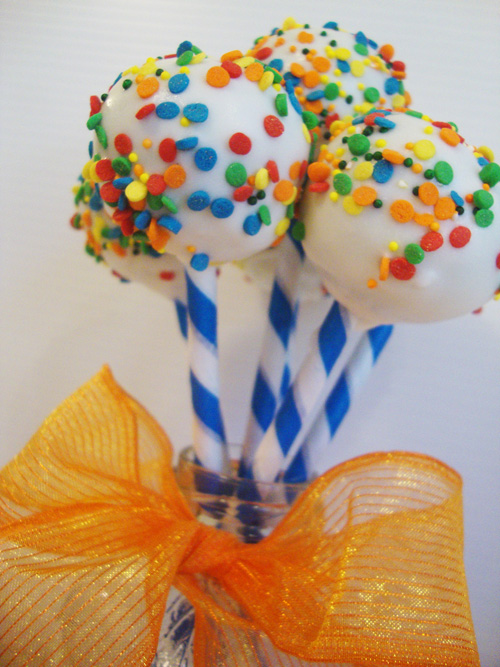
The colors are perfect for Back-to-School treats…these are definitely as yummy to eat as they are to look at!
Tags: back-to-school treats, cake pops, how to make cake pops, primary color treats

