A couple of weeks ago, I came across a really cute idea when I was looking at the Two Peas members gallery. They originated from this website: Instructables . When I first saw them, I knew it would be a great project for Halloween, but I didn’t think I would have time. Then I remembered about them today and thought I’d try just one, just to keep the project fresh in my mind. I couldn’t do it (just like the Lays Potato Chip jingle!). After I got the first one done, I made another. But it was late and I didn’t want to ignore my husband and there was a movie that we were supposed to watch, so I set the project aside until today – except that I couldn’t go to sleep because I kept thinking about making more and different characters! I won’t make you wait, since I promised directions today, but I will post pictures of the next characters that I make when they are done! Little did I know that the big pack of multi-colored tissue paper would come in handy for something other than gift wrapping!
You will need:
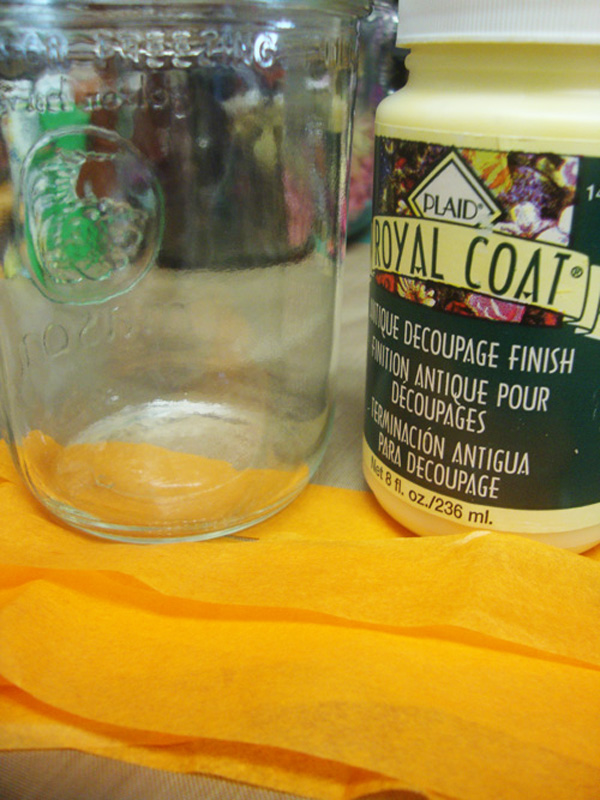
– Clean, empty jars – a variety of sizes and shapes are fun to have…I’m eyeballing a BIG pickle jar in my frig and wondering what I can transfer the pickles to so that I can use it!
– For pumpkins, orange tissue paper. If you have to go out to get it, get a variety because you might want other colors for the next ones you make! Cut into 1 1/4″ to 1 1/2″ strips, and then cut lengths the height of the jar. One sheet of tissue paper should do 3 to 5 jars, depending on their size.
– Green paint (or tissue paper) for the top of the jar.
– Black cardstock (for the faces).
– ModPodge or another decoupage finish. I used Plaid’s Royal Coat – it is an antique finish, so it slightly ages or yellows the project, where as ModPodge dries clear.
– A sponge brush for the decoupage finish and a art brush for painting the top of the jar green.
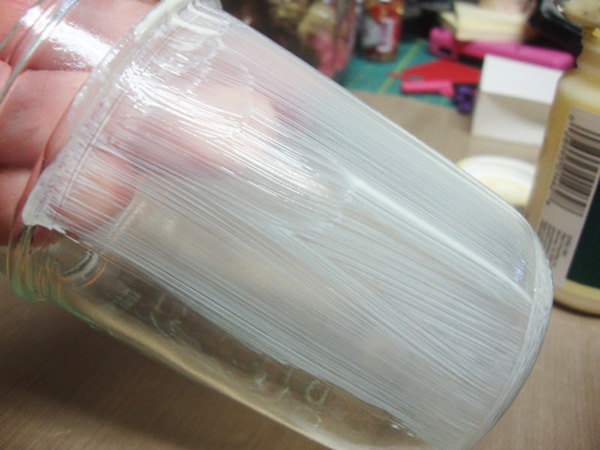
1. Begin by putting a coating of decoupage medium on a section of the jar, including a stroke or two across the bottom.
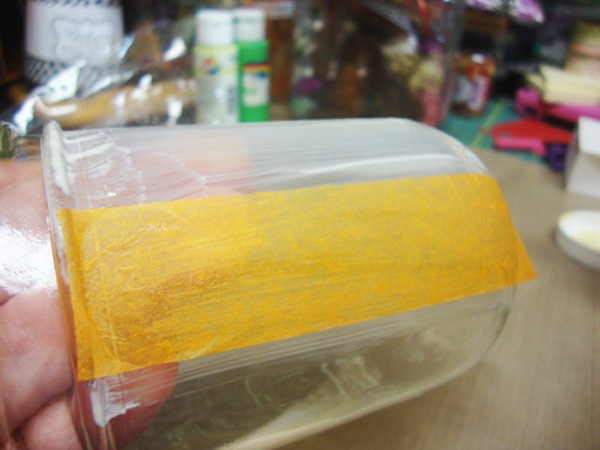
2. Next, place a strip of orange tissue paper on the jar, keeping it at the bottom of the neck of the jar. Gently rub the tissue paper onto the jar, securing it and getting bubbles out; wrap the end of the tissue paper strip around the bottom of the jar.
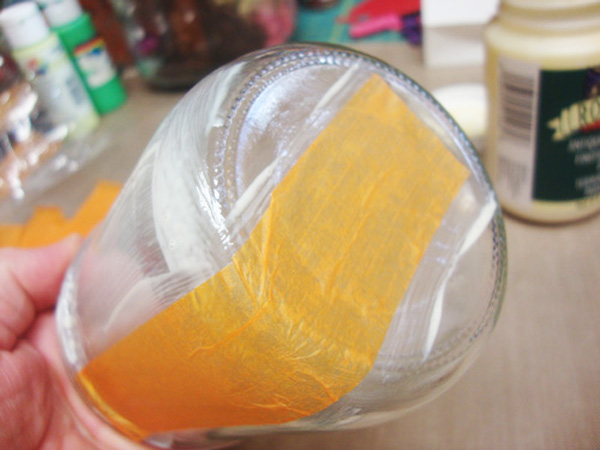
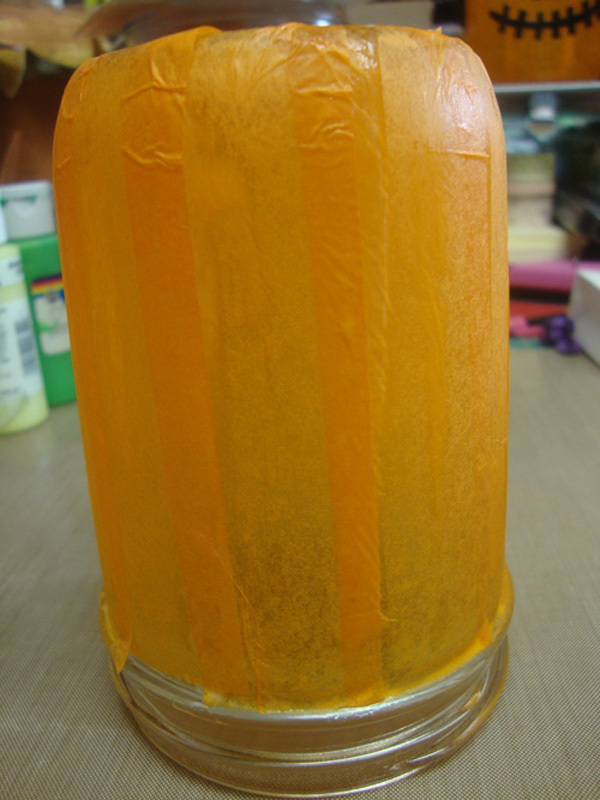
3. Take the sponge brush and brush a little decoupage medium over the edge of the tissue so that the next strip will be secured; repeat the tissue paper placement until all the way around the jar.
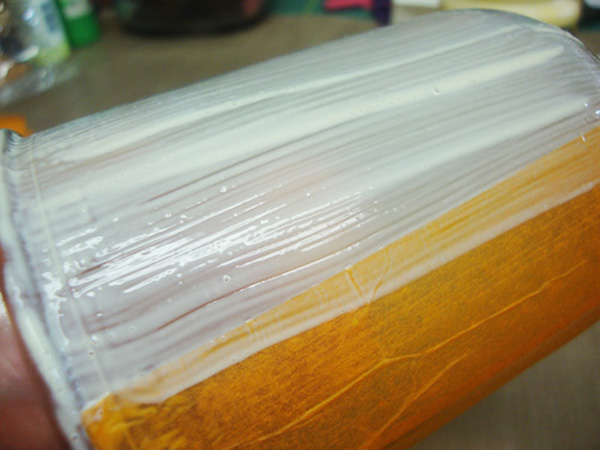
4. The jar will look like this.
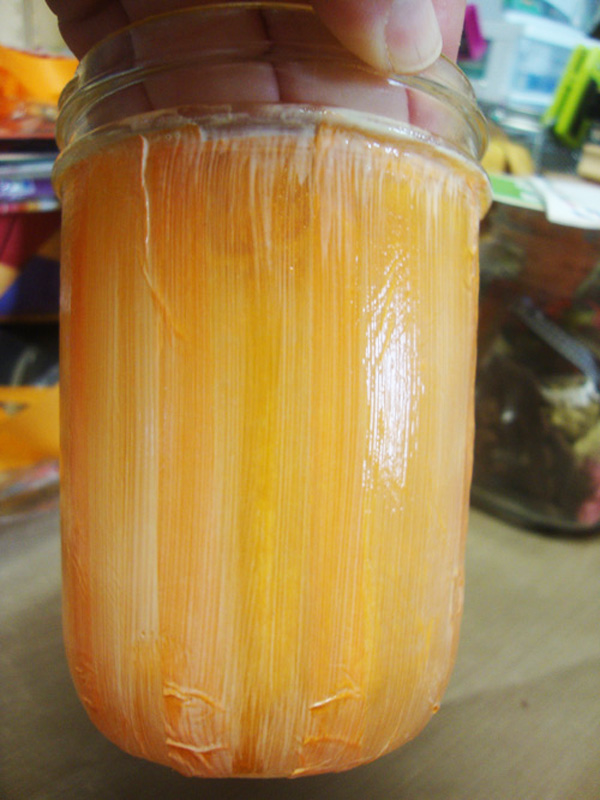
5. Next, put a layer of the decoupage medium over the orange tissue paper; let dry thoroughly. If you get impatient, you can use a hair dryer to speed up the process, but it will still have to cure when you are done…done.
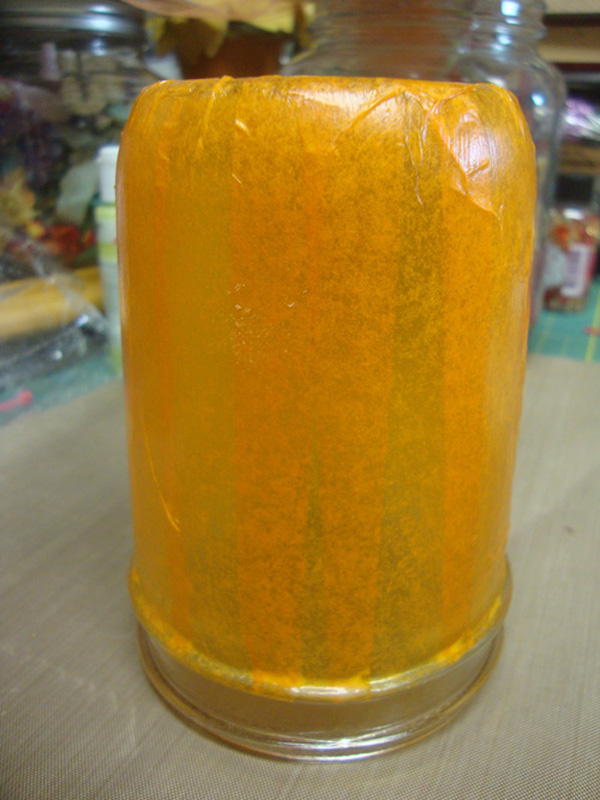
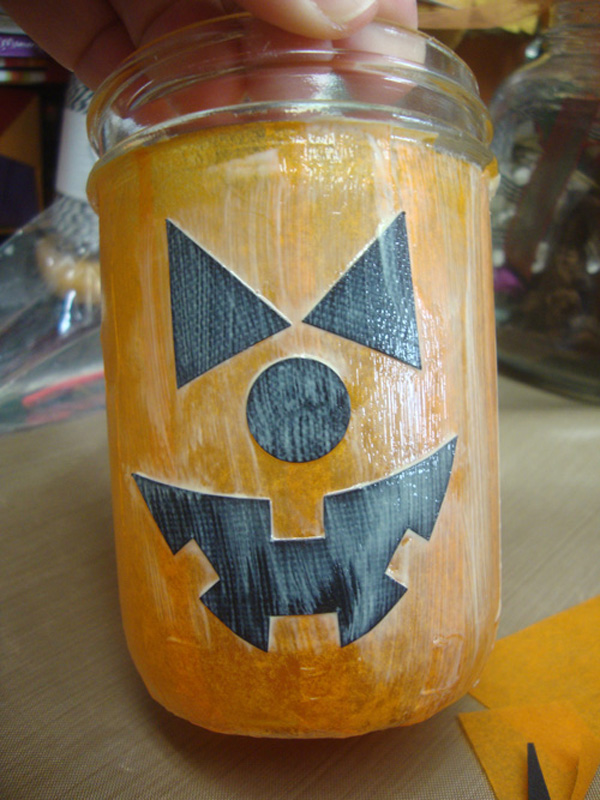
6. While waiting, cut out the face. When you place on the jar, avoid any patterns/numbers that might be in the glass. The face will adhere better to a smooth surface. Put some decoupage medium directly to the jar and then brush some to the backside of the cardstock; place on the jar and make sure that all the edges are down without bubbles underneath. Give it a few minutes and then do another coat of decoupage medium over the entire covered/decorated surface.
8. For the green, you can either decoupage green tissue paper around the top rim, or paint it with green paint. Which ever you do, you will want to put a coat of the decoupage medium over the top to seal it. Let these sit until dry. You can handle them after a couple of hours, but it’s best not to handle them too much until they have set up overnight.
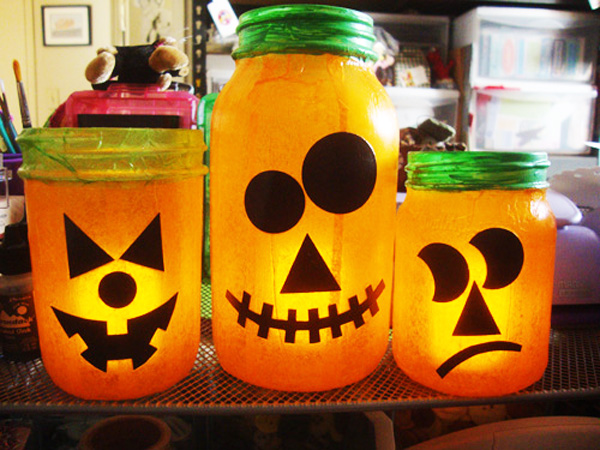
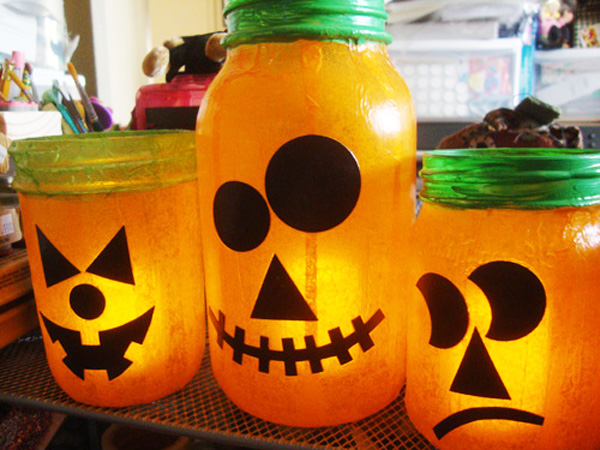
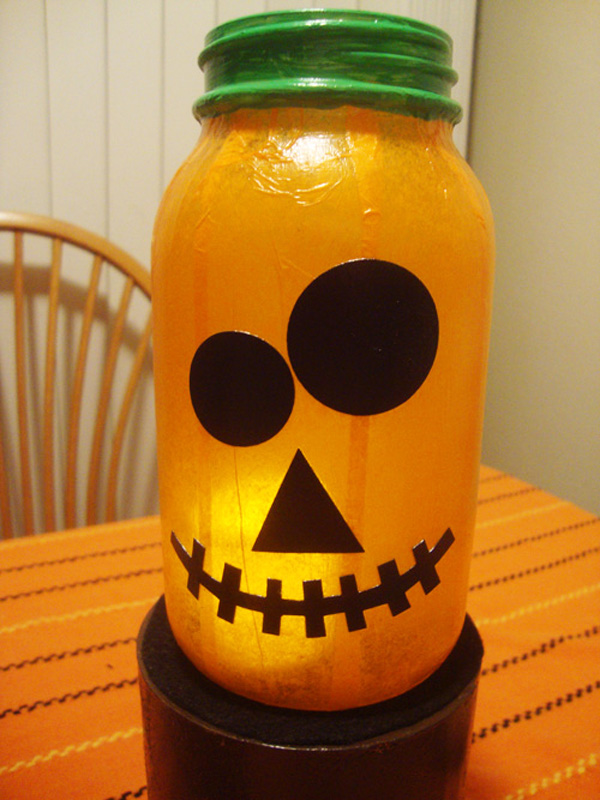
The pumpkin on the left has the tissue paper around the top and the other two are painted. While the original project strung white lights inside a series of jars and suggested that or tea lights, I really love the LED votives that I found at Costco. It was a pack of 30 assorted sizes/types for $19.99 and I think there was a coupon, but not positive. They flicker like the real ones, but I don’t have to worry about the heat and flame of a votive or a tea light.
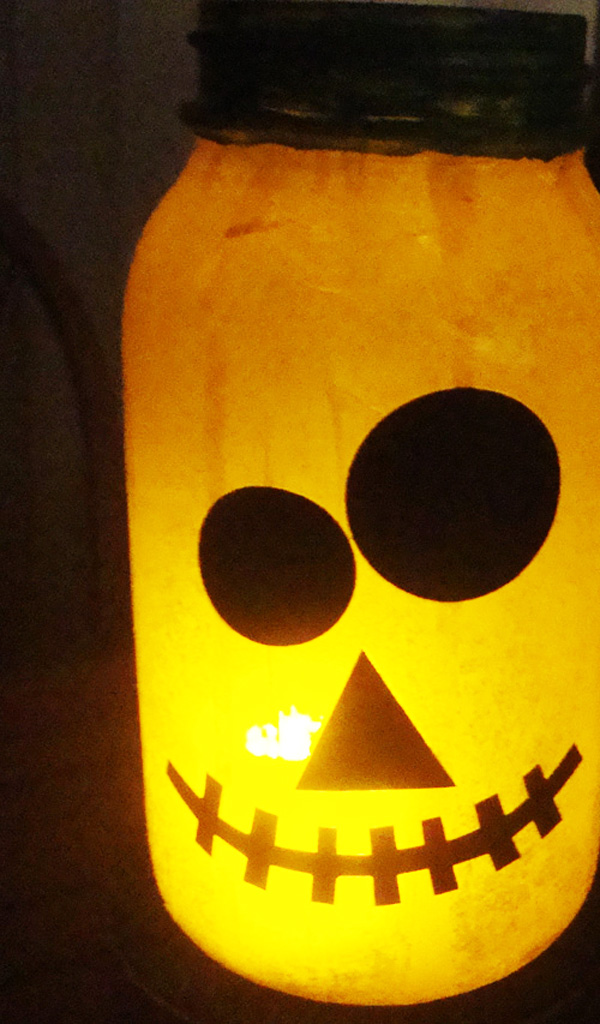
Aren’t these too cute? They look really cool glowing in the dark, too!
Tags: glass jack-o-lanterns, halloween crafts, Halloween crafts for kids, Halloween decorations, halloween lights, Halloween luminaries, Halloween mason jars, halloween pumpkins, mason jar crafts, recycled art projects for the holidays, recycled kids art

