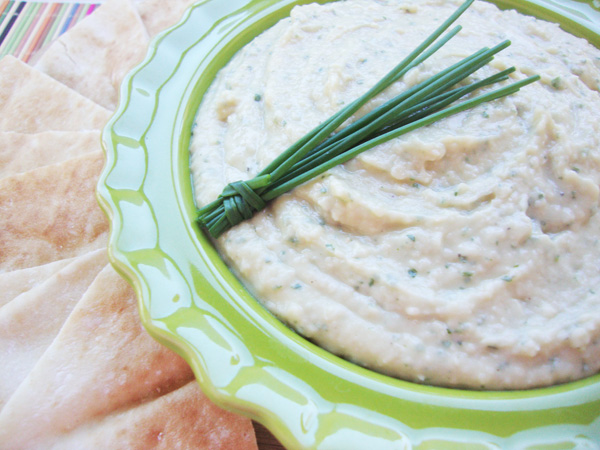
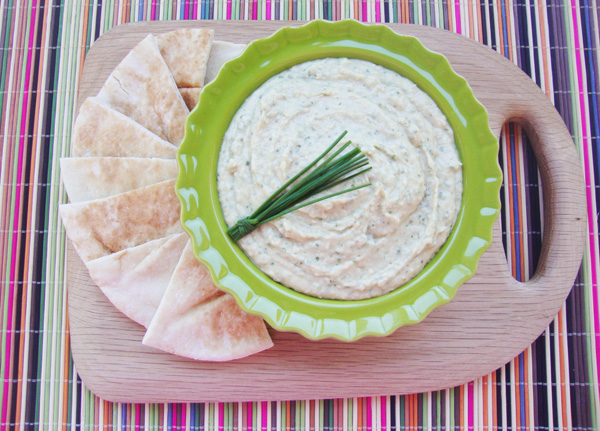
I was at a friend’s house a couple of weeks ago for a meeting, and Amy graciously served us lunch. Food is always better when someone else does all the work, but this lunch was so delicious that I asked for all the recipes…just to spread the deliciousness around! We had some toasted pita chips with this yummy bean dip, similar in flavor and texture to humus. It was so good and simple to make that we decided to make it for a women’s conference (of 200 women) that was coming up at the end of September…and I made 6 double batches! I will, however, just give you the smaller-sized recipe – technically, I could only do a double recipe batch at a time…it’s all my Cuisinart food processor would hold!
Cannellini Beans, also known as white kidney beans, are high in protein, low in fat and a great source of fiber. I spotted some cans at my local grocery store for $1.69 per can, but because I was making such a large batch, I shopped around and found them at my Walmart (not a super store) and there were 2 brands of cannellini beans – one was 92¢ and the Great Value label was only 68¢. I am not picky about my canned beans…I opened one of each of the cans, tried a bean from each and couldn’t tell the difference. After all, I was just going to puree the heck out of them! Go for the less expensive!
Cannellini Bean Dip
2 – 15 oz cans Cannellini beans
4 tablespoons fresh-squeezed lemon juice
1 large clove of garlic, sliced up a bit
2/3 cup extra virgin olive oil
1/2 cup chopped fresh parsley, loosely packed
Salt and Pepper to taste
Pita bread and oregano
Fresh chives – for garnishing
Drain and rinse the beans in a strainer; place in food processor. Add the lemon juice, garlic, extra virgin olive oil and fresh parsley. Pulse process the mixture a few times, and then turn the processor on and blend until still slightly chunky; taste it, then add a little salt and pepper. Blend again, then taste and add a little more salt and/or pepper if needed; process until mostly smooth. Amy had a more powerful blender and her dip was completely smooth and green, but mine was just as delicious and I like the bits of color and tiny chunks of bean. Put it in a container, cover and let it sit for several hours or overnight for the flavors to blend. Garnish with some tied up chives if desired.
I served this dip with fresh pita and it was delicious. When Amy served it to us, she brushed the pita with evoo (extra virgin olive oil) and sprinkled them with a little oregano, pepper and salt, then baked them in a 400° oven for 8 – 10 minutes – they were toasted, but not extra crispy…she did this for her son with braces – made them easier on the mouth and they are really good that way!
This is a tasty, inexpensive appetizer that can be prepared ahead.


