Somewhere, sometime during my weekend getaway, I realized that I have a lot to do in order to get ahead of the what I call “Christmas Crazies”. It doesn’t help that I lack focus on any “good” day. It is a basic flaw in my creative self…that distraction to “shiny things”. At any given time I have at least a dozen ideas for projects floating around in my head, all that I really want to do. One of those things is the “Project 300” that I have come to call it – I still have about 80 cards to finish for Jake. But seeing the Christmas “stuff” on sale at Hobby Lobby (I went to one in Las Vegas…there isn’t one, at least that I know about, in San Diego) made me frantic about what I might miss out on (on what, I’m not sure) if I don’t hurry…hence the “craziness” part. Even just trying to follow my own thoughts can be a distraction! But I guess the idea is to prepare now so that I can enjoy later. That means it’s time to keep working on all things Christmas, and in this instance…The Christmas Card Project.
One of the projects (see the easy distraction?) I’ve been working on are cards for another Pinecone Press idea book, using Simple Stories “25 Days of Christmas” 6 X 6 paper pad. In a way, I love having someone else’s projects to work on because of the focus that, out of necessity, comes with it. So today’s post brings along with it some card ideas. I am, as you might say, “killing two birds with one stone”…gruesome sounding, eh? The basic sketch style can be adapted with most patterned paper lines, and if I’m having a slow day, I will often re-use my own sketches.
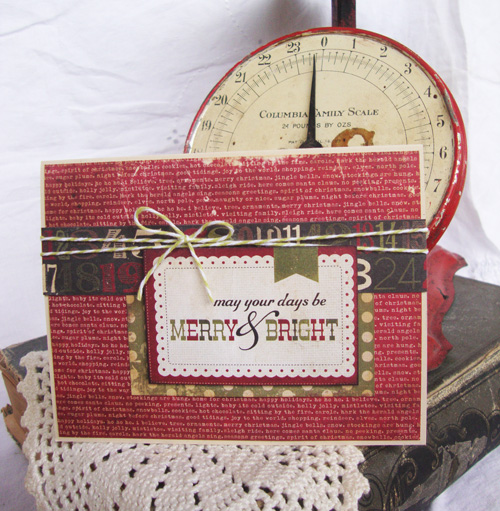
Sorry…every once in a while I need to get out the “big guns” (to kill two birds…) for photographing the cards. The scale is one of my favorite photo accessory! My book is fun, too.
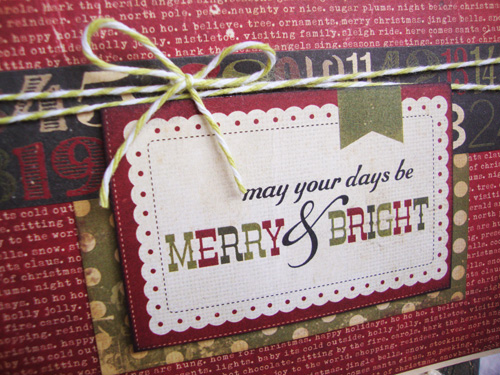
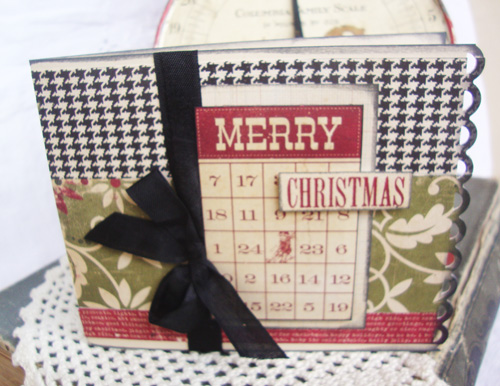
I added foam mounting tape to the back of the sentiment on the front of the card. I like to use foam tape from the big roll because it is thinner and doesn’t make the sentiment stick out too far away from the card like foam mounting squares might.
My next “Merry Christmas” card is made with a 4 1/4″ by 11″ piece of cardstock, folded in half. The card presents itself longer horizontally, but the fold on the side makes for a different look.
To make the scalloped border, first punch the front vertical edge, then line up the strips along the edge. To make it easier on yourself, cut the strip be a little longer than the length of the card and place each strip flush with the scalloped border; let the excess hang over the folded edge. Once you have all the strips on, trim the excess carefully off.
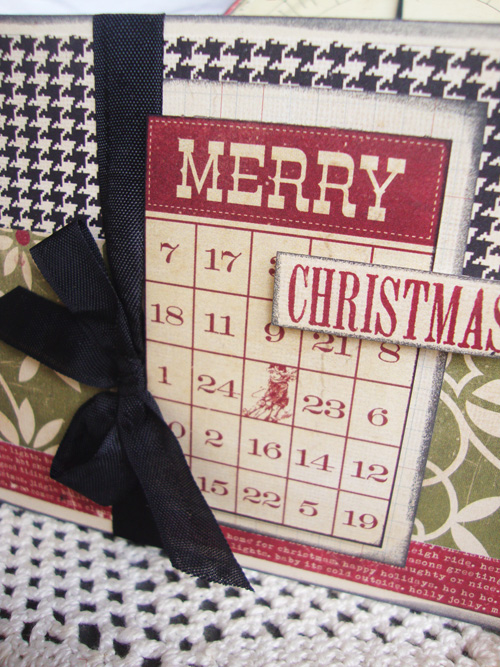
When working with patterned paper collections, it’s nice to have the pre-printed sentiments, especially when making Christmas cards. But unless you buy multiple pads, you have to come up with multiple designs in order to best utilize the product you have. Sometimes that can be quickly accomplished going back to that card sketch.
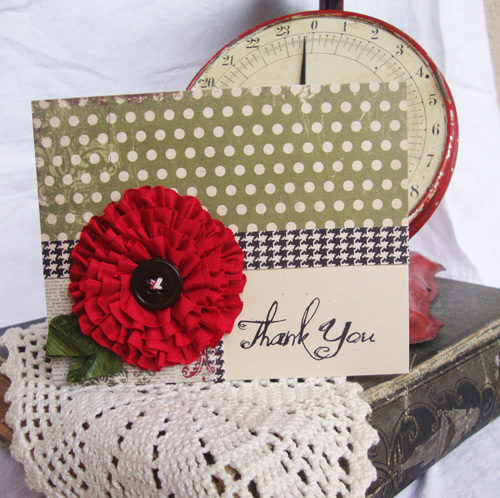
There are lots of times you will need “thank you” notecards during the holidays. Print up a few of the base cards with the “thank you” on and then you can use different patterned papers to decorate a bunch of cards at the same time. They don’t have to be the exactly the same, just coordinated.
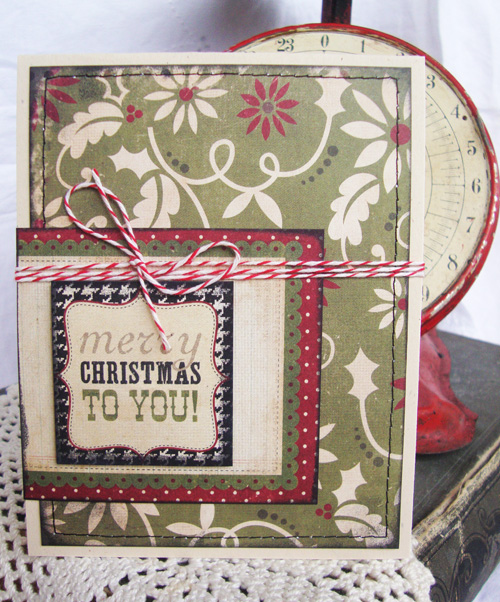
Stitching is one of my favorite ways to embellish my projects. I really love stitching, but I don’t like to see it on the inside, so I either stitch before attaching or I cut an extra piece of cardstock to hide the inside stitching…I know, maybe it’s a little extreme, but that’s just me!
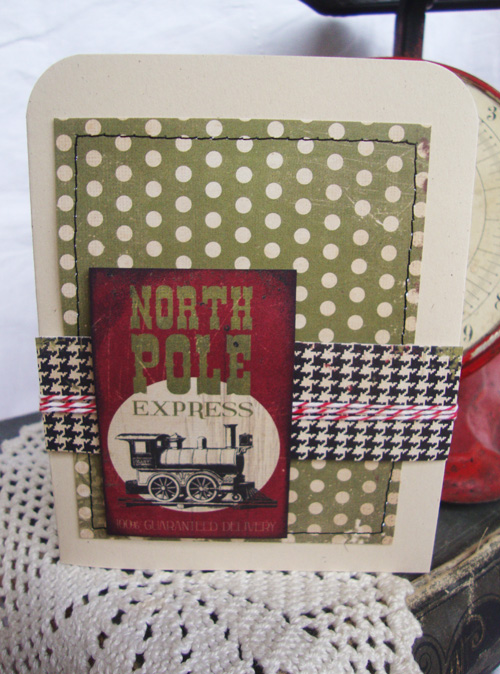
The baker’s twine is wrapped around the houndstooth strip before adding the foam mounting tape to the back side of the paper. Inking the edges of the paper also helps to add definition, even on the darker papers.
I am so excited to get into the hustle and bustle this Christmas season brings. Do you know what I just realized? Thanksgiving is next week! Where the heck did November go? All I can say is…let the “crazies” begin!
Tags: bakers twine, Christmas cards, Simple Stories, Simple Stories 25 Days of Christmas



Thank You for such wonderful inspiration! I love your style. I need to decorate paper bags for YW christmas gifts and you have helped me get a great start.