How appropriate! When adding the words “mini” and “mania” to “odds” and “ends”, one is sure to end up with a little of “this” and “that”…and way too many quotation marks!
Odds and Endsis the latest release from Cosmo Cricket. It is a totally different style from the earlier releases at CHA. It has a warm, vintage feel and combined with the graphics of the children on the Trinkets sheet and the flourishes, alphabet letters and words on Junk Drawer, there is a bounty of elements to choose from. I have taken a whole week off of working with paper, especially my minis, so I was happy to get back to it today. Color really makes me happy and these colors are no exception. As soon as I start talking color wheel, hues and shades, my conversation will get garbled as I need a serious refresher course in the technical terms…and rather than research (as it’s already been a long day and I need to go cook dinner) what I should call it, I am sticking with red, green, a little bit of yellow and a bunch of blue in their respective shades…or if I take a little more time to be more descriptive with the colors, I would say Washington Delicious Red, Close to the Skin Avocado, Mustard Mayo and Blue Skies with a Chance of Haze…I have secretly always thought that it would be a fun job to name paint colors – for about a week…after which I would run out of ideas. Okay, on to the creating part.
Anytime that I take a few days off of working with paper, I have to start slow with the designing process. What I want to do is “Race to the Fair” (I’m all into the San Diego County Fair’s theme for the 2011 season), but I can’t seem to get from zero to sixty in 5 seconds once the green flag is waved. I rely on the traditional “start your engines” and have to give it some gas to rev things up – a project or two will usually do – before I actually make it to the finish line. As with “Thinking of You!”
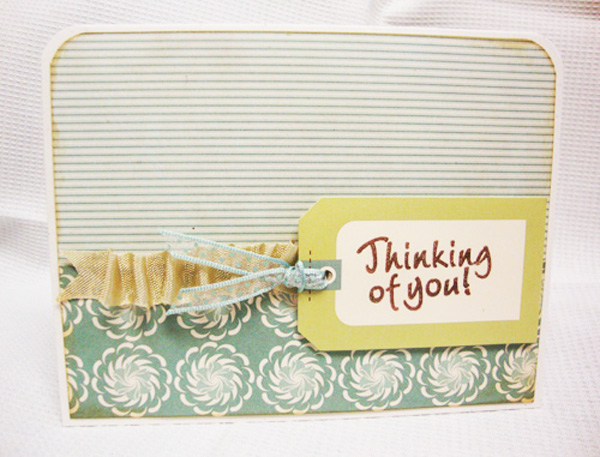
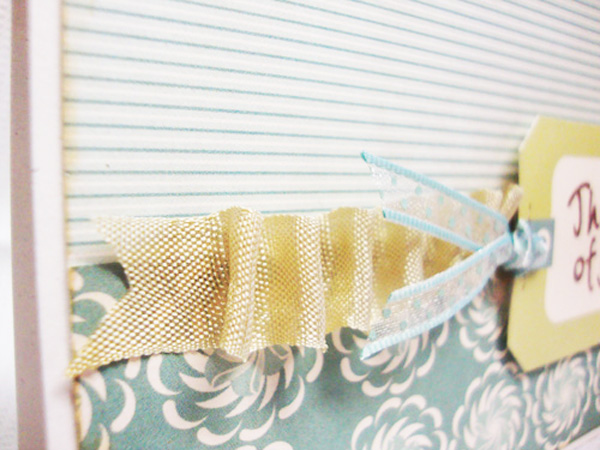
This is a simple card with a simple sentiment – my favorite kind of sentiment! Luckily, I never need to go to the store looking for ribbon to match patterned paper lines – as a collector, I already have it, or I can rely on Glimmer Mist to make my own. I love Hug Snug seam binding and if I were rich, I’d have a spool of every color…yes, all 200 colors! But alas, I’m not (rich) and I don’t (have every color), but I did have a great shade that worked just right. To get that wavy effect, I put a strip of thin red-line tape where I wanted the ribbon to go, and then attached the end of the ribbon to the left side, made a loop and then attached the valley of the loop to the tape; continue the process. Easy!
After working with the quilting ladies at the fair today, I was inspired to make my own little quilt block card.
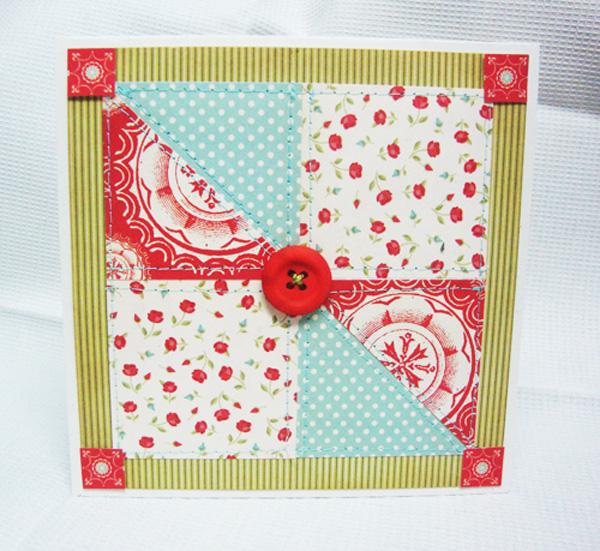
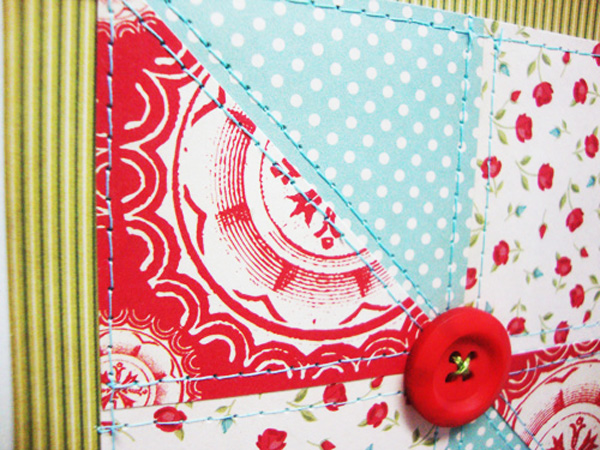
This is perfect to add to the all occasion stash that I like to keep waiting for an appropriate sentiment. The stitching adds to the quilted look.
“Hello My Friend!”…can I just say Hug Snug and Glubers are an awesome match?
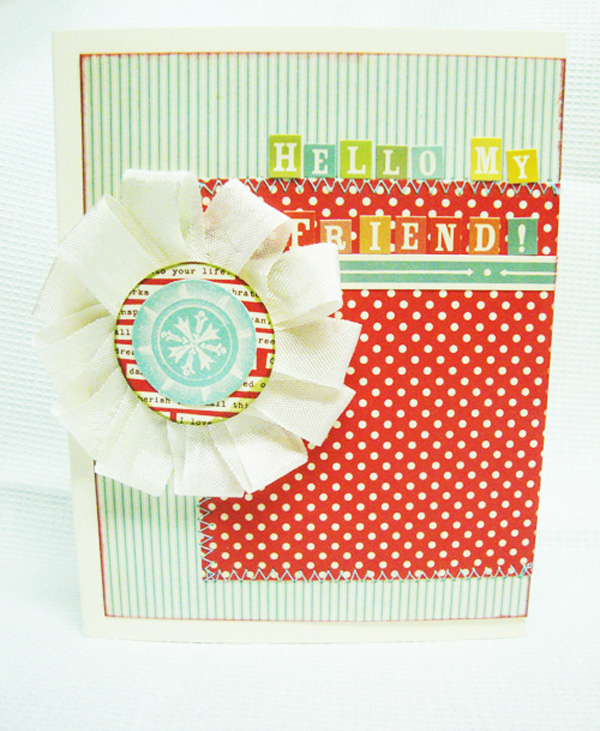
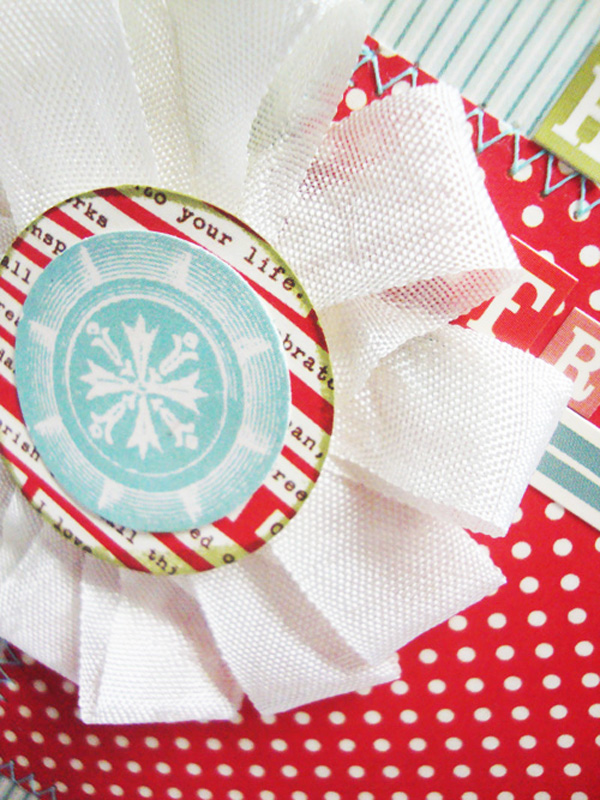
This Gluber flower was another easy one – just make one loop after another as you go around the outer edge of the Gluber.
I love the little girl on the next card.
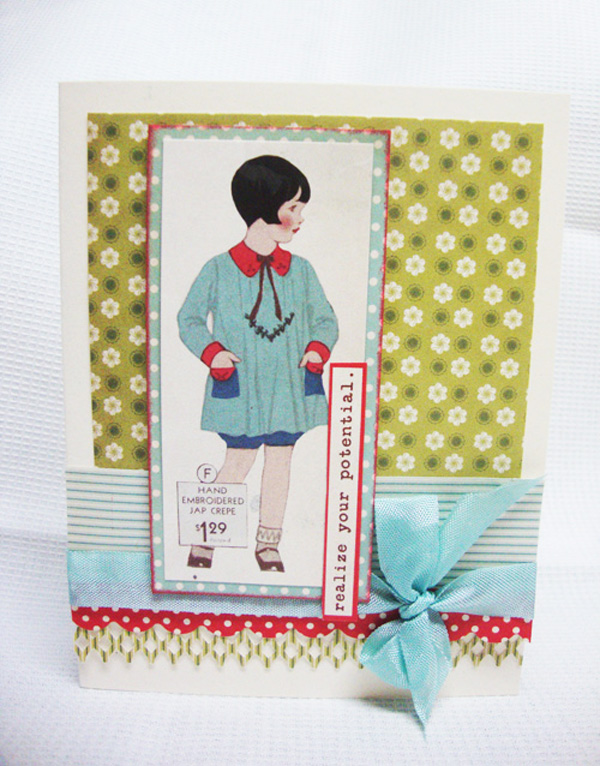
On this card, I used the text from the 12″X12″ Junk Drawer sheet. The sheet of the same design from the mini deck was just a little too small to read, at least too small for my friends! Oh, and some more Hug Snug!
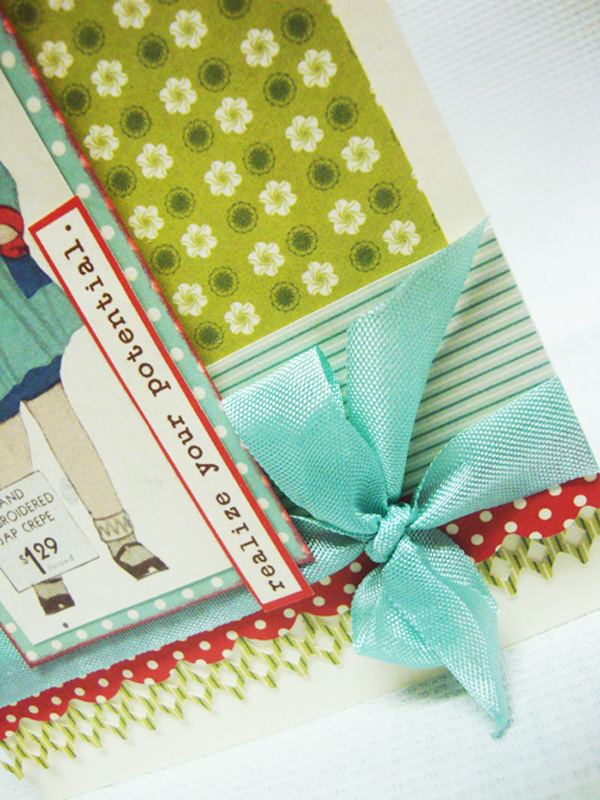
Take the time to read all the little sayings…they are wonderful!
Almost to the finish line and the checkered flag! I know that you can tell that I am a card-maker of many styles, but I had fun with this one. I am always looking for a way to make new flowers. Sometimes I just stumble across something that looks cute.
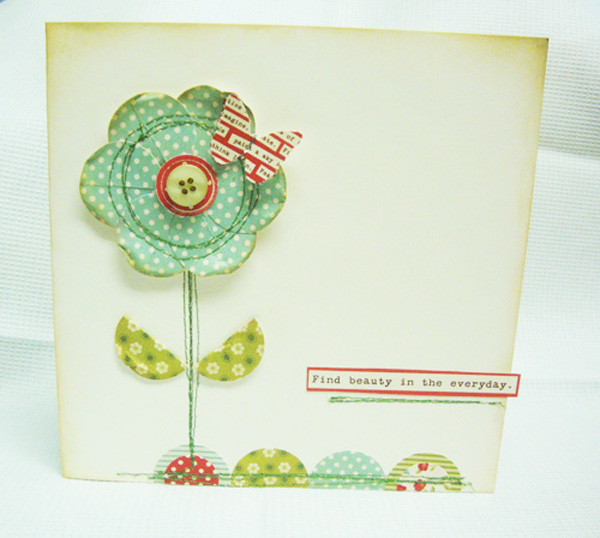
After years of working with punches, I have decided that if you are on a budget, the best bang for your bucks are those basic shapes, or ones that you will use repeatedly and are difficult to make. Circle punches are versatile and a good investment and it will make your paper crafting life easier if you have graduated sizes.
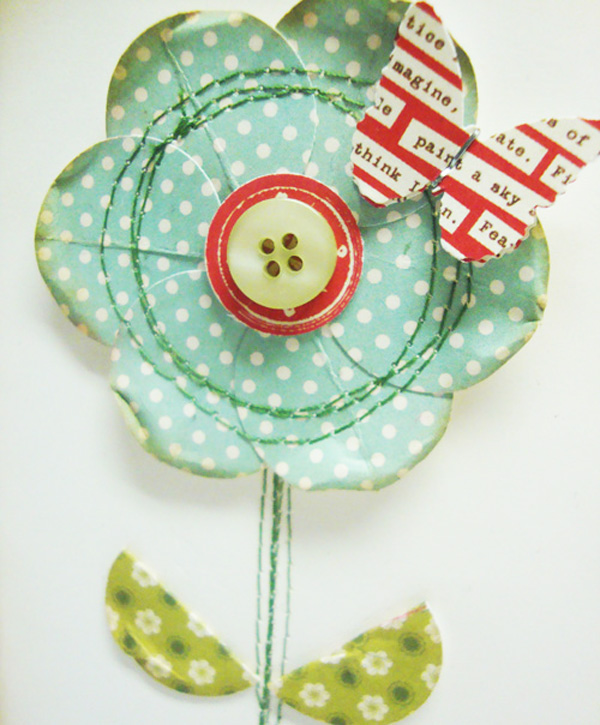
I used 3/4″ and 1″ circles on this card. Those, a little stitching and a random button, all on a cream background, make a simple yet cute card. I chose the sentiment after I thought I was done decorating the card, and the butterfly (Martha Stewart) seemed to go along with the mood of the card and added that just right finishing touch.
Now – the bonus for me was something that I found recently at a local scrapbook store, Paper Tales in Point Loma.
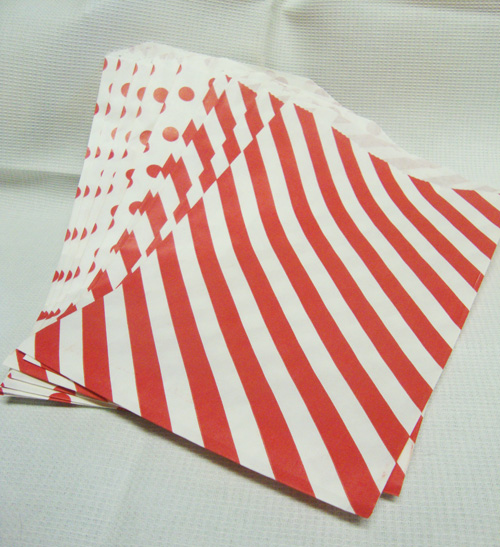
I have been experimenting using kraft colored paper bags as envelopes. I sent one to my mom to test and see it’s strength in mailing…haven’t heard back. So when I saw these bags on the shelf, I was in heaven and my mind went crazy with ideas! The 6 1/4″ X 10″ bags are from Whisper Graphics and they come in red, light blue, pink and black. So, to go along with this card, I made this:
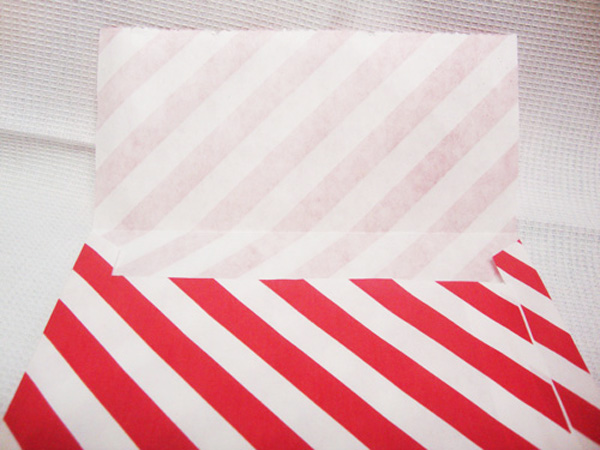
This envelope only takes a minute or two to complete. The back is taller than the front side of the sack, but you want to use the front of the bag for the front of the envelope. This works best for 6″X6″ size cards, but if you use it for a 4 1/4″ X 5 1/2″ card, you will need to trim away some of the flap. Put your card inside the sack and then fold it down where you want the fold to be; next, cut down the sides to the fold, cut at an angle in about 5/8″ on both sides, down again and across to the opposite side…to get it straight, use a ruler and pencil from one side to the other.
If you are feeling super crafty, I found this homemade envelope glue recipe here or you can always use some redline tape.
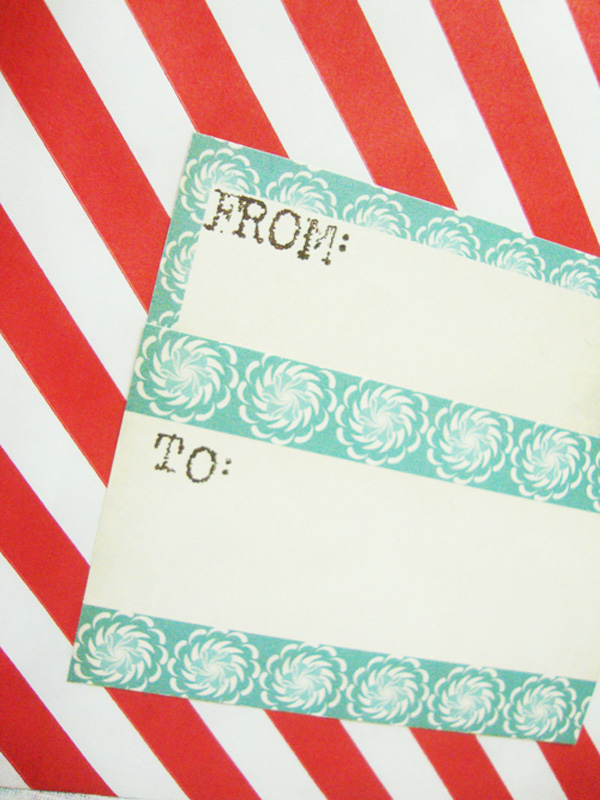
Add some of the element labels to the front for mailing. I think it makes a fabulous combination!
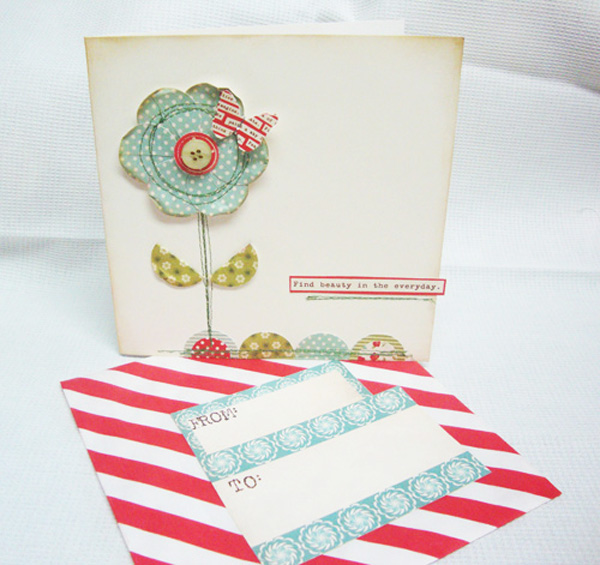
I am really liking this envelope idea!
Have fun and let me know how yours turn out!
Tags: Cosmo Cricket Odds and Ends, Cosmo Cricket Odds and Ends cards, envelopes out of paper sacks, homemade envelopes, Whisper Graphics sacks, Whisper Graphics treat bags


