A few weeks ago, I posted some cards that I designed for a kit from Pinecone Press using the 6 X 6 Mabel paper pad from My Mind’s Eye Stella & Rose line. The remnants of the paper are MITDA…missing-in-the-dark-abyss, currently known as my workroom…so I can’t re-create the exact same flower, but since there have been several requests for step-by-step direction on how to make it, I will attempt to re-create it. Might I also point out that this is a technique from my ribbon roses, except that these are made out of paper and don’t start with a knot or require glue on each folded petal – maybe I’ll have to do a how-to on the ribbon roses someday. But on to the paper flower.
1. If you like the two-tone look, you need to use double-sided paper and the starker the difference in the two sides, the better contrast you will have. You could use a single strip if you were cutting from a 12 X 12 sheet of paper, but since the MME pad was only 6 inches across, cut two strips that are 5/8″ X 6″ and make into one strip. While I love the thicker texture of some MME papers, they don’t work as well for folded projects, so I suggest to use more pliable or smooth paper…although I think that lightly misting the paper with water will help to make it more pliable. I am using a strip from the MME Alphabet Soup line.
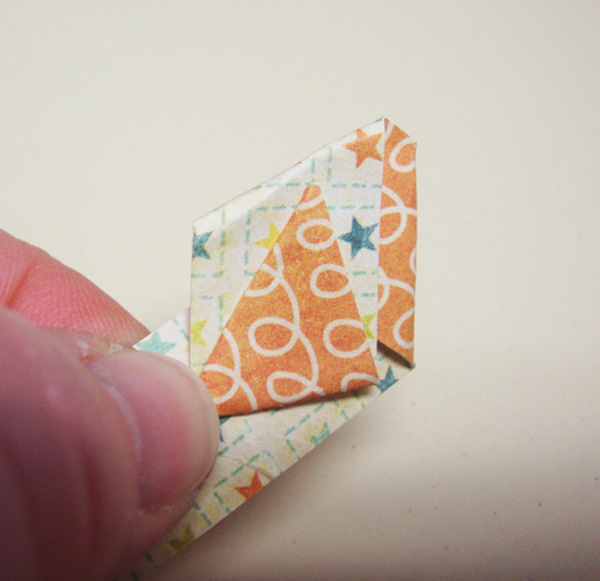
2. Make your first fold by folding over the corner…you don’t need it to be a sharp 90o angle. Gently crease the first fold, but not the ones to follow.
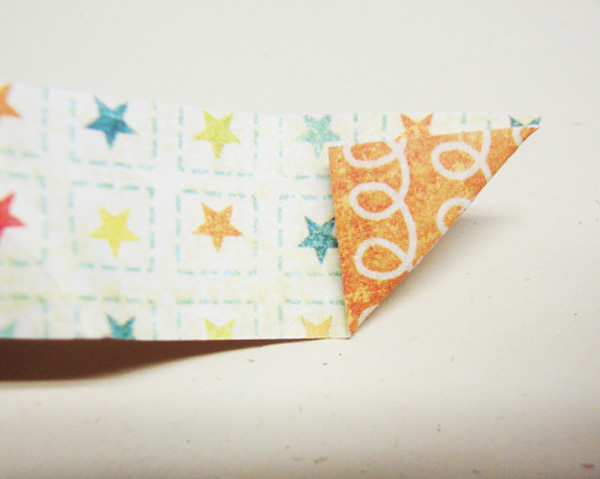
(The first two folds will be folded toward you, or forward.)
3. Make the second fold…
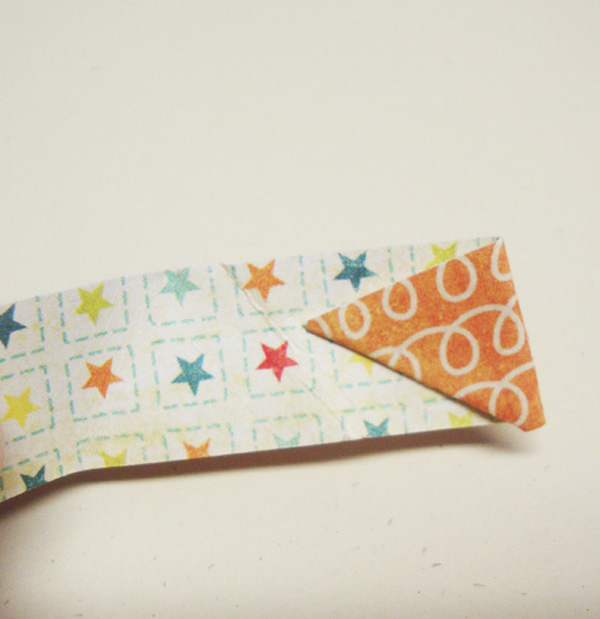
and keep it going at an angle.
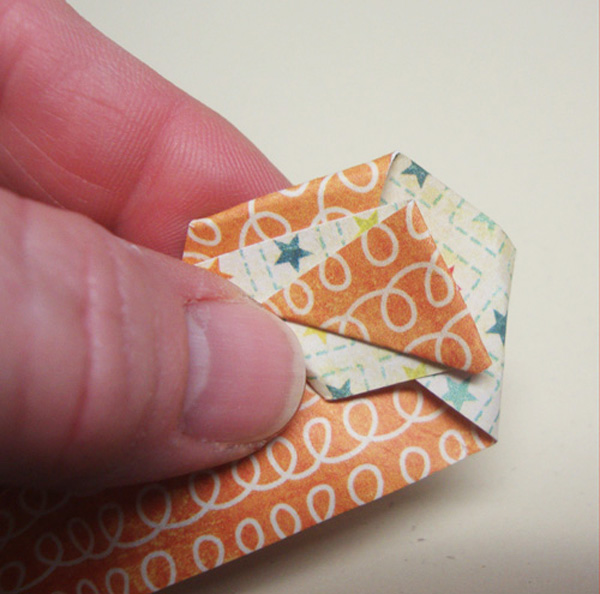
4. With the third fold, you start taking the paper backwards. Turn as you go – I am right-handed and I keep mine going clockwise.
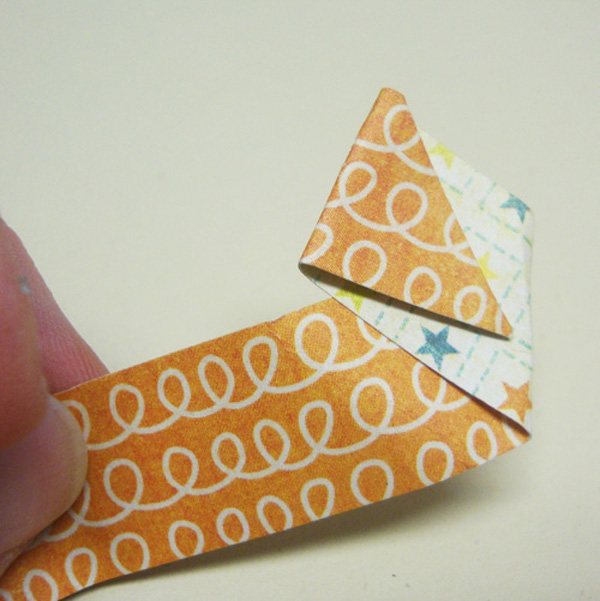
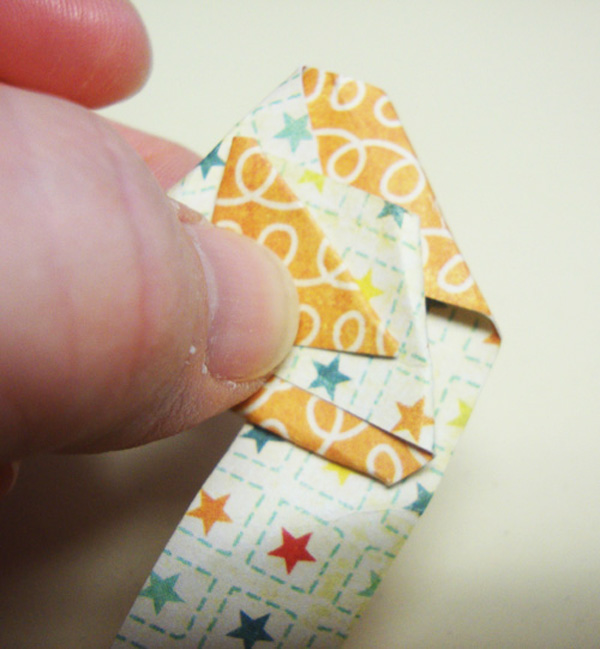
5. You will need to keep angling your paper so that it starts taking bigger, more circular shape. You can also see how the patterned paper alternates as you fold it.
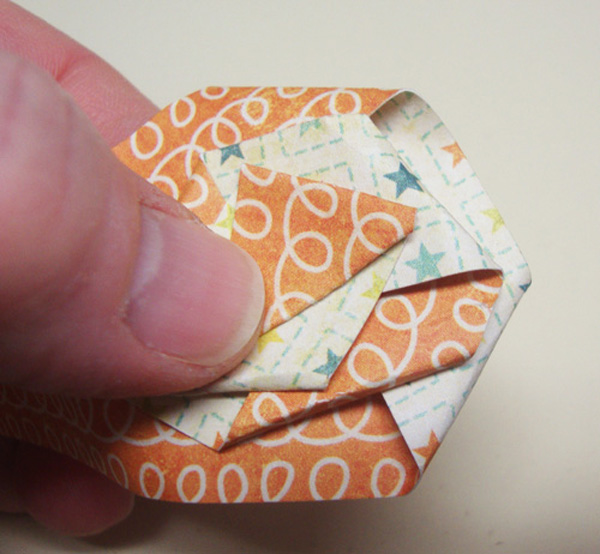
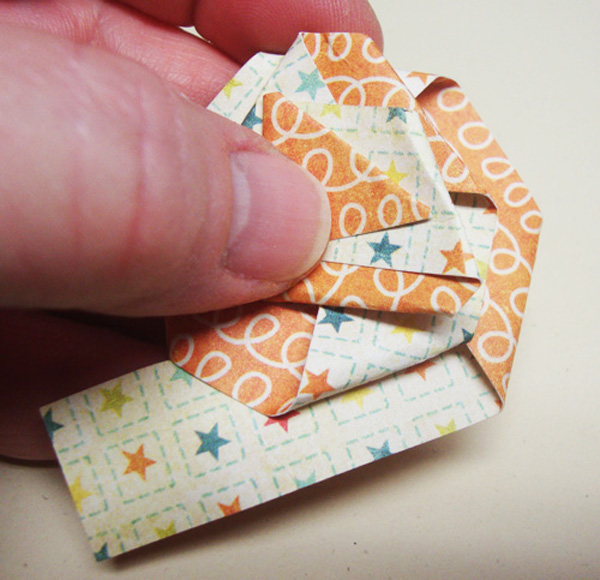
…your’e almost done. Keep going until you reach the end of your strip. Now you will make your last fold and seal it off with a glue dot or other adhesive.
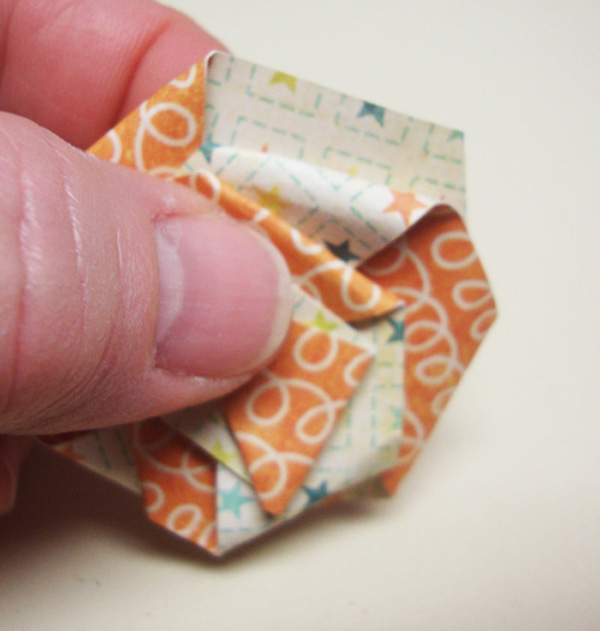
Sorry that it’s a little blurry. Here is what it looks like on the backside.

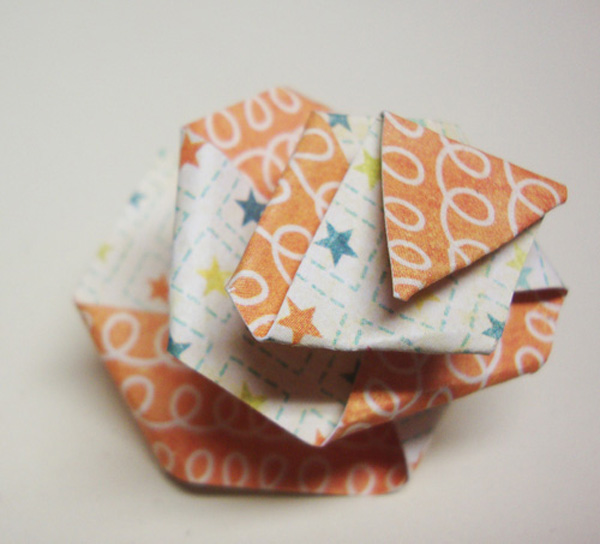
Now…you can see that it needs something to hold it together.
8. Pinch it together in the center and pierce a hole through the middle; insert a brad and close the prongs. It should keep it together fine.
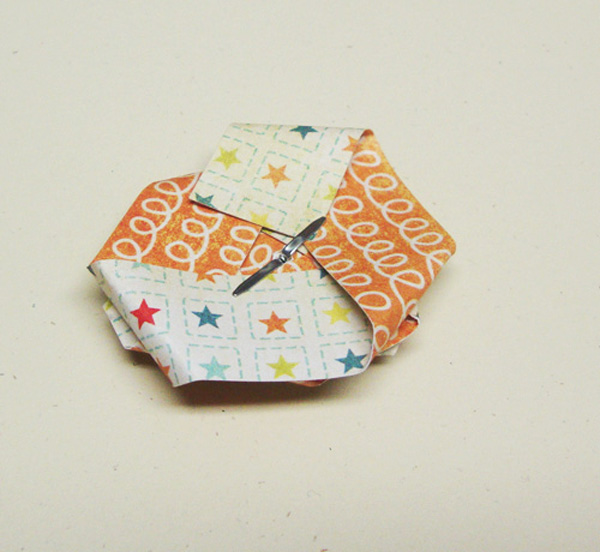
And here is your finished flower.
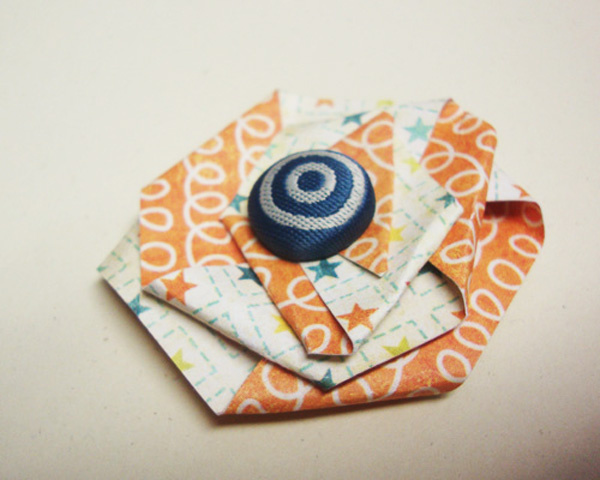
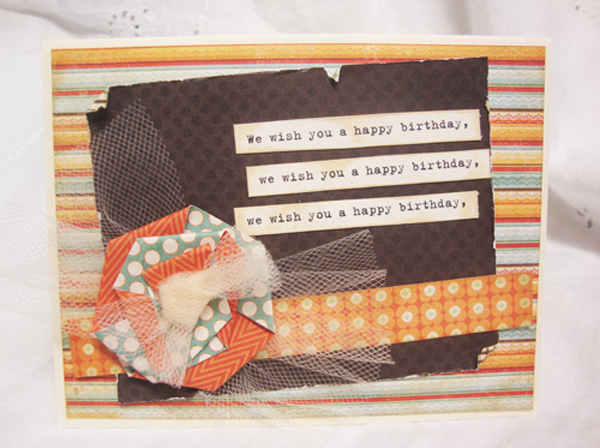
As long as I have a new flower, I thought I’d go ahead and make a card out of it!
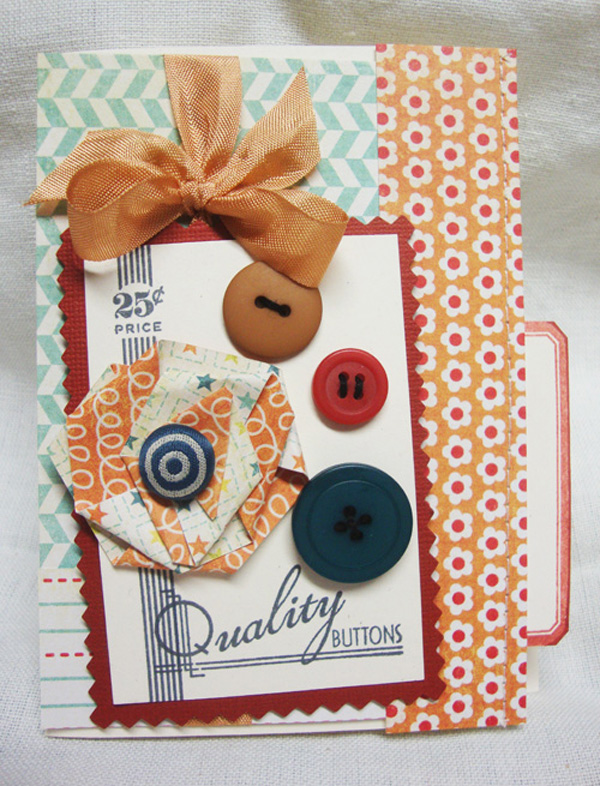
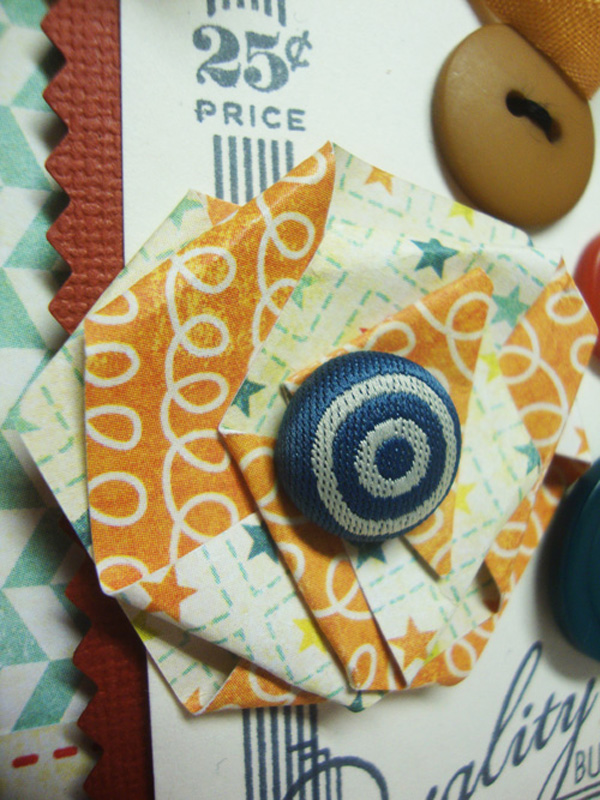
I hope that the directions are clear enough to understand. The first time around, I made the flower…no do-overs, no problem. Trying to write down how to do it with words is another story! I would have tried to make a video, but it wouldn’t have been ready for a month and everyone would have forgotten all about the flower by then. If you like, you can practice on a strip of regular cardstock, but the smaller the patterns make for interesting flowers for sure! If you have any questions, let me know!
Tags: cards, MME Alphabet Soup line, MME Stella & Rose Mabel, Paper folded flower, Papertrey Ink Button Boutique stamps, Pinecone Press club kits

